19 Handmade Spring Home Decor Ideas to Welcome the New Season
Are you ready to breathe fresh life into your home this spring? The new season brings warmer weather, blooming flowers, and the perfect opportunity to update your living space with creative handmade touches. These 10 handmade spring home decor ideas to welcome the new season will transform your space without breaking the bank.
From floral wreaths to colorful centerpieces, each project uses simple materials you can find easily. Let’s dive in…
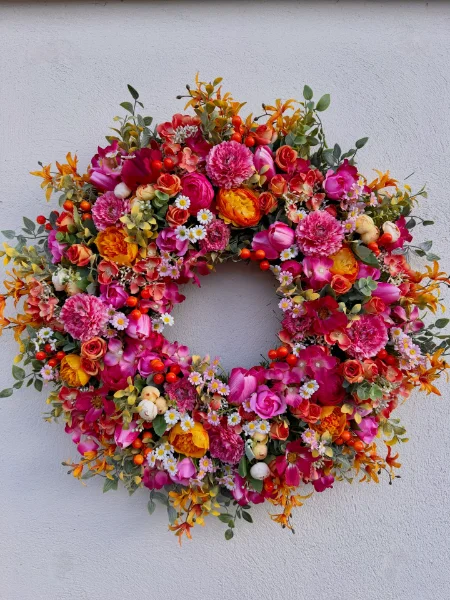
1. Fresh Floral Door Wreath
- Grapevine wreath base
- Faux spring flowers
- Floral wire
- Ribbon
- Hot glue gun
A floral door wreath instantly signals that spring has arrived at your home. Start by selecting a grapevine wreath base as your foundation. This natural material creates beautiful texture and works perfectly with any color scheme.
Arrange your faux flowers in clusters using the wrapping technique with floral wire. Position larger blooms first, then fill gaps with smaller flowers and greenery. Finish with a flowing ribbon bow at the bottom.
2. Mason Jar Flower Vases
- Mason jars (various sizes)
- Acrylic paint
- Twine or lace
- Paintbrushes
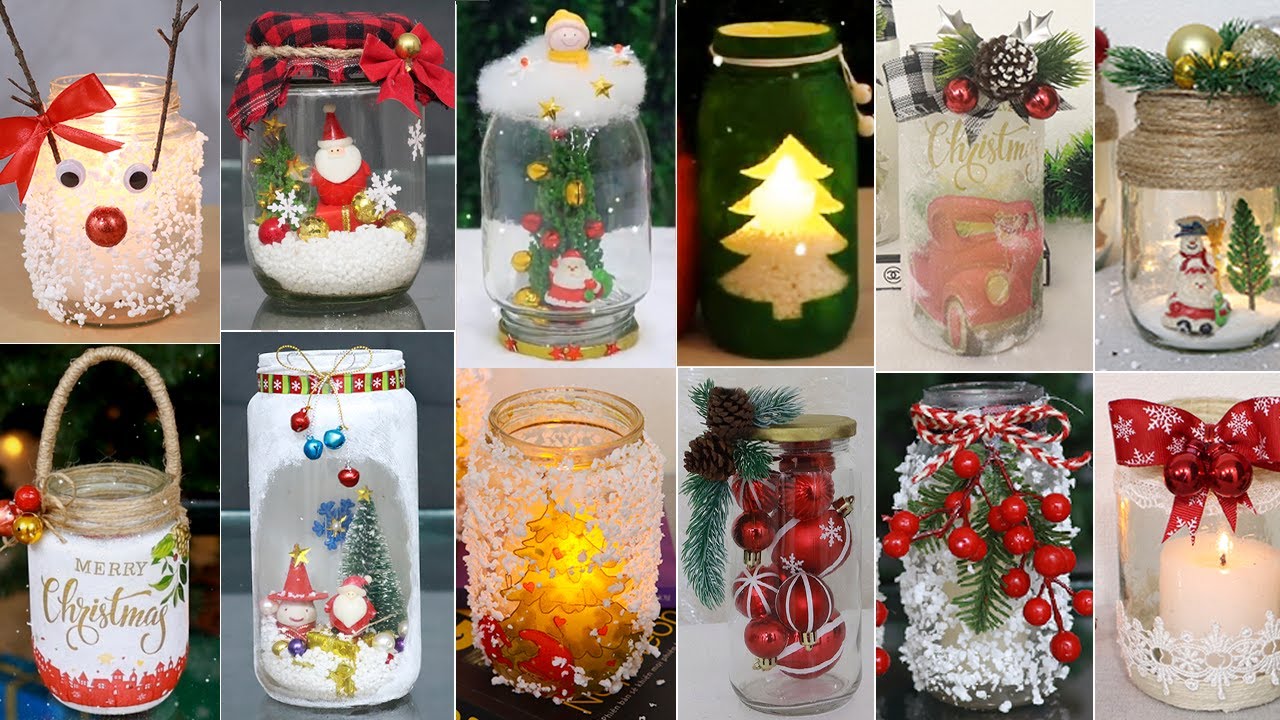
Transform ordinary mason jars into stunning spring vases with just a few supplies. Paint the jars inside or outside using soft acrylic paint in mint green, coral, or cream. Allow each coat to dry completely before adding another layer.
Wrap the jar necks with rustic twine or delicate lace for added charm. These versatile vases work beautifully on windowsills, dining tables, or bathroom counters. If you enjoy fun crafts to make at home, this project takes under thirty minutes.
3. Botanical Pressed Flower Frames
- Fresh flowers and leaves
- Heavy books or flower press
- Floating glass frames
- Parchment paper
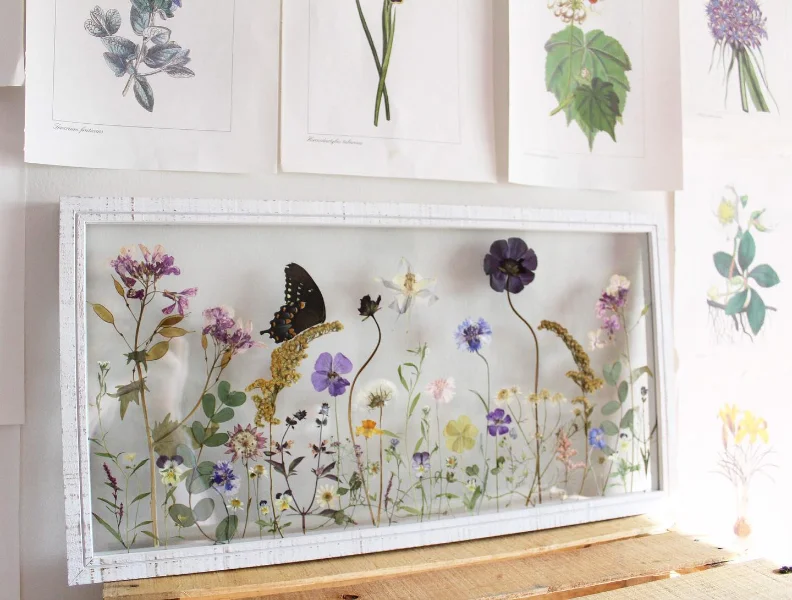
Create elegant wall art using pressed flowers from your garden or local florist. Place fresh blooms between parchment paper inside heavy books. Wait two to three weeks for complete drying before handling.
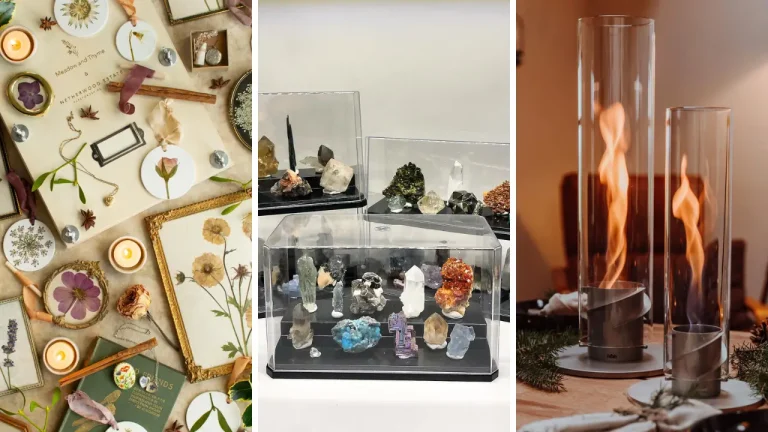
Arrange your dried botanicals in floating glass frames for a stunning transparent display. The layering technique works best when you overlap smaller flowers with larger leaves. These frames catch natural light beautifully.
4. Decorative Bird Nest Display
- Craft moss
- Twigs and dried grass
- Decorative eggs
- Small bowl or form
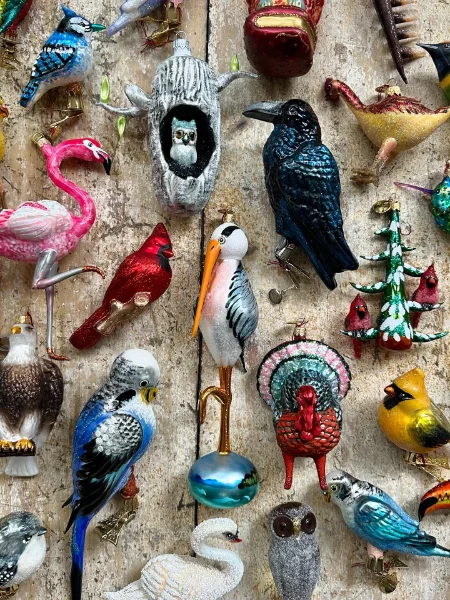
Nothing says spring like a charming bird nest centerpiece displayed on your coffee table or mantel. Use a small bowl as your form and layer craft moss and twigs around it. Shape the materials into a natural-looking nest.
Fill your completed nest with decorative eggs in robin’s egg blue, speckled cream, or pastel colors. These adorable displays work wonderfully in groups of three at varying heights. Consider exploring dollar store crafts ideas for affordable decorative eggs.
5. Fabric Bunny Decorations
- Cotton fabric scraps
- Polyester filling
- Needle and thread
- Buttons or beads
- Ribbon
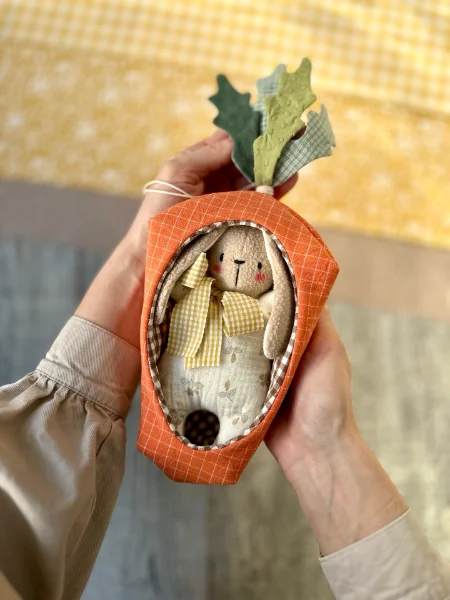
Sew adorable fabric bunnies that bring whimsy to any spring vignette. Cut simple bunny shapes from cotton fabric in floral prints or solid pastels. The basic silhouette requires just front and back pieces with elongated ears.
Stuff your bunnies with polyester filling and hand-stitch the opening closed. Add button eyes and ribbon bow ties for personality. These sweet creations make wonderful DIY handmade gifts for friends and family.
6. Painted Terra Cotta Pots
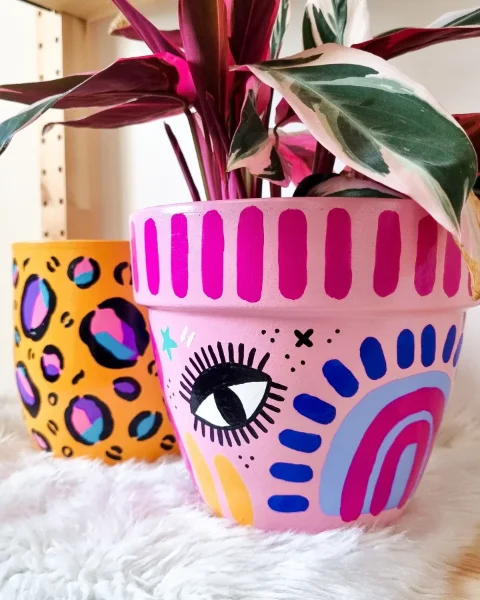
- Terra cotta pots
- Outdoor acrylic paint
- Sealant spray
- Painter’s tape
Give plain terra cotta pots a spring makeover with cheerful painted designs. Clean your pots thoroughly and let them dry overnight before painting. Use outdoor acrylic paint for durability and weather resistance.
Create geometric patterns using painter’s tape for clean lines. Try stripes, color blocking, or polka dots for playful spring vibes. Seal finished designs with clear spray to protect your artwork from moisture.
7. Woven Basket Arrangements
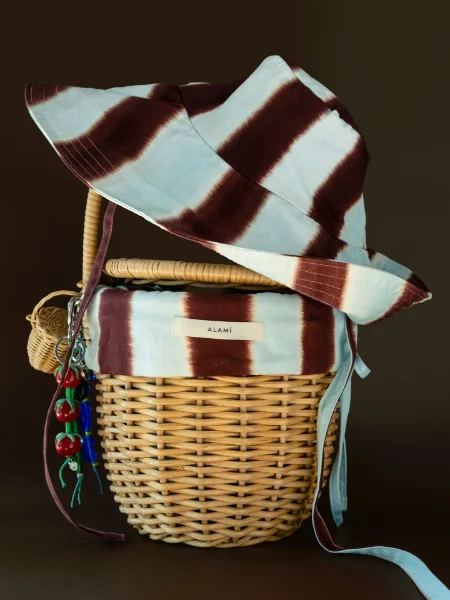
- Woven baskets
- Floral foam
- Faux greenery
- Spring flowers
Style woven baskets with overflowing spring arrangements for instant farmhouse charm. Select baskets in natural tones or whitewashed finishes. Secure floral foam inside to anchor your stems firmly in place.
Build arrangements starting with trailing greenery that cascades over basket edges. Add focal flowers in the center and filler blooms throughout. These arrangements work beautifully on dining tables or entryway consoles.
When you discover home craft projects quick like this one, decorating becomes effortless.
8. Spring Garland Decoration
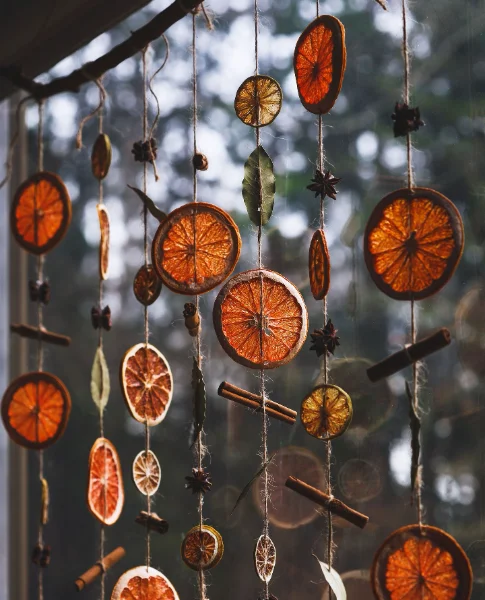
- Jute twine
- Felt fabric
- Wooden beads
- Scissors
- Hot glue
Create a festive spring garland to drape across your fireplace mantel or window frame. Cut flower and butterfly shapes from colorful felt fabric using simple templates. Layer different sizes and colors for visual interest.
String your felt shapes onto jute twine alternating with wooden beads. The beads create spacing between shapes for a professional appearance. This versatile garland transitions easily from early spring through summer months.
9. Citrus Slice Ornaments
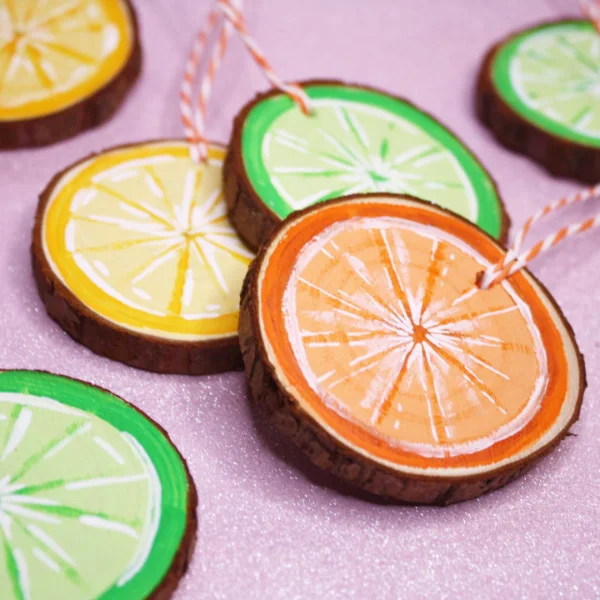
- Fresh oranges and lemons
- Baking sheet
- Twine or ribbon
- Clear sealant (optional)
Dry beautiful citrus slice ornaments that add sunny color and subtle fragrance to your spring decor. Slice oranges and lemons into quarter-inch rounds using a sharp knife. Blot excess moisture with paper towels before baking.
Bake slices at 200 degrees Fahrenheit for four to six hours, flipping halfway through. Thread dried slices onto decorative twine or ribbon for hanging. These cheerful natural ornaments brighten any window or doorway.
10. Upcycled Tin Can Planters
- Clean tin cans
- Spray paint
- Washi tape or fabric
- Drainage rocks
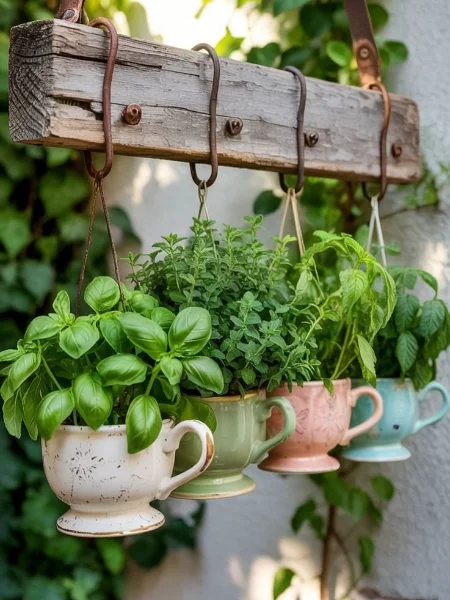
Transform empty tin cans into charming planters for herbs, succulents, or small flowers. Remove labels completely and smooth any sharp edges with a file. Spray paint provides quick, even coverage in your chosen spring colors.
Decorate painted cans with washi tape stripes, fabric wrapping, or hand-painted designs. Add drainage rocks to the bottom before potting your plants. Group different sizes together for an eclectic garden display.
These projects make wonderful handmade gift craft ideas for plant-loving friends.
These 10 handmade spring home decor ideas to welcome the new season prove that refreshing your space doesn’t require expensive purchases. Each project uses accessible materials and simple techniques anyone can master. Grab your craft supplies and start creating!
Share your favorite ideas in the comments below and let us know which project you’ll try first. Rate this post to help other crafters find spring inspiration!
11. Whimsical Paper Butterfly Mobile
- Cardstock in various colors
- Butterfly punch or template
- Clear fishing line
- Embroidery hoop
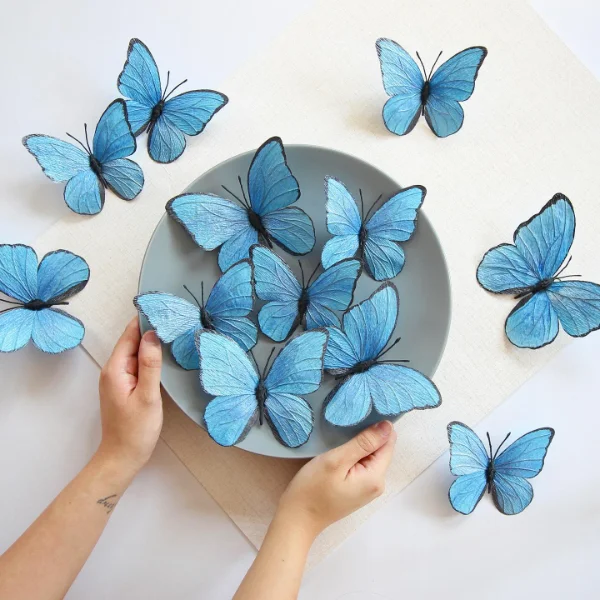
A paper butterfly mobile adds movement that static spring decor cannot match. Punch or cut butterflies from colorful cardstock in several sizes, then fold each one slightly along the center so the wings lift into three dimensions.
Tie the butterflies to clear fishing line at varying lengths and attach the lines to a painted embroidery hoop. Hang the finished mobile near a window where gentle breezes keep the wings fluttering.
12. Natural Twig Picture Frame
- Straight twigs or branches
- Hot glue gun
- Plain wooden frame
- Pruning shears
A natural twig frame brings outdoor texture inside for the price of a walk around the yard. Collect straight twigs and cut them with pruning shears to match the dimensions of a plain wooden frame.
Glue the twigs side by side across the frame surface, letting the natural variation in twig size show. Finish the piece with a spring photo or a botanical print for a cohesive woodland aesthetic.
13. Fragrant Lavender Sachets
- Dried lavender buds
- Fabric scraps
- Ribbon or twine
- Sewing supplies or fabric glue
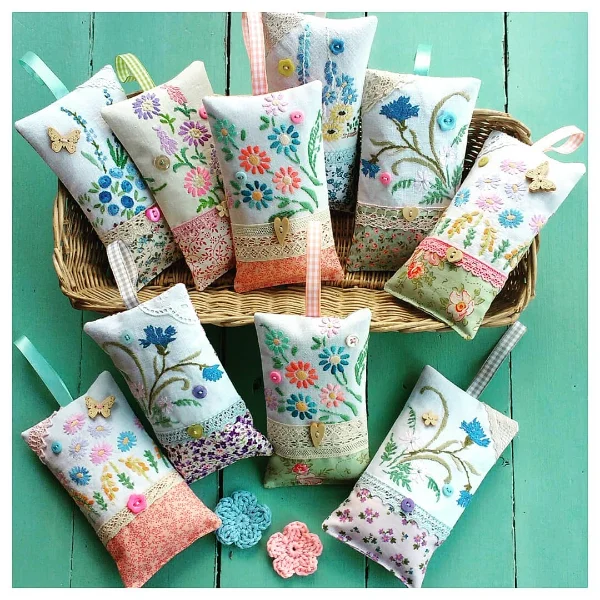
Handmade lavender sachets carry the season into drawers and closets that decor usually skips. Cut fabric scraps into small squares, sew or glue three sides together, fill with dried lavender buds, then close the final edge.
Tie a ribbon around each finished sachet and tuck them into drawers, closets, or under pillows. A small stack of them also makes a thoughtful DIY handmade gift for friends and family.
14. Colorful Tissue Paper Pom Poms
- Tissue paper sheets
- Floral wire or pipe cleaners
- Scissors
- Fishing line for hanging
Fluffy tissue paper pom poms bring instant celebration to any corner of the house. Stack eight to ten sheets of tissue paper, accordion fold the whole stack, secure the center with floral wire, then cut the ends into rounded or pointed shapes.
Separate each tissue layer carefully to open the stack into a full, fluffy ball. Hang several pom poms in varying sizes on fishing line for a display that suits a party table or everyday spring decor.
15. Painted Rock Garden Markers
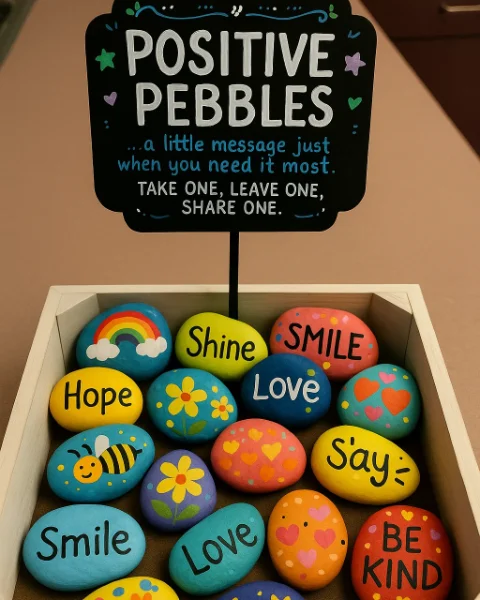
- Smooth river rocks
- Acrylic paint and brushes
- Paint pens for details
- Clear sealant spray
Painted rock markers label your spring garden and your indoor pots at the same time. Wash and dry smooth river rocks, apply a base coat of white paint, and let them dry completely before any detail work begins.
Paint flowers, ladybugs, bees, or plant names onto each stone, then seal them with clear spray so the designs survive the weather. The same painted stones work indoors as paperweights or tabletop accents.
16. Elegant Lace Doily Bowls
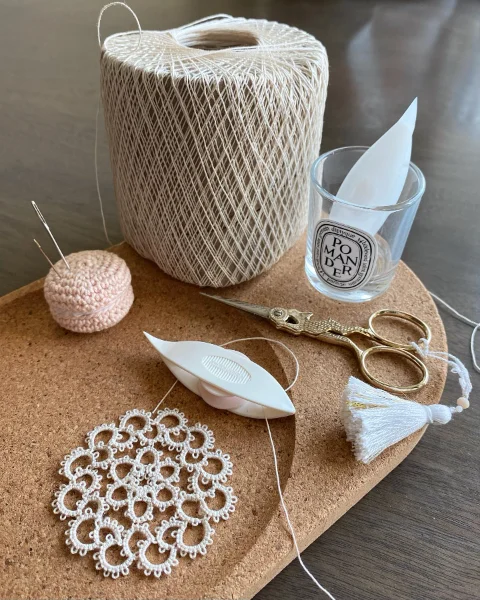
- Paper or fabric doilies
- Fabric stiffener or Mod Podge
- Balloon or bowl mold
- Plastic wrap
Vintage doilies turn into decorative lace bowls with one simple technique. Soak each doily in fabric stiffener until it is completely saturated, then drape it over an inverted bowl covered with plastic wrap.
Let the shape dry for twenty-four hours before carefully lifting it off the mold. The finished bowls hold jewelry, potpourri, or small treasures, and the vintage look suits a dresser or an open shelf.
17. Fresh Herb Wreath

- Grapevine wreath base
- Fresh herb bundles
- Floral wire
- Pruning shears
A fresh herb wreath decorates the kitchen and stocks it at the same time. Gather rosemary, thyme, sage, and oregano into small bundles, then attach each bundle to a grapevine base with floral wire.
Work around the wreath in one direction so every bundle lies the same way. The herbs stay decorative and aromatic for months as they dry, and you can snip from the wreath directly while cooking.
18. Decorative Rope Basket
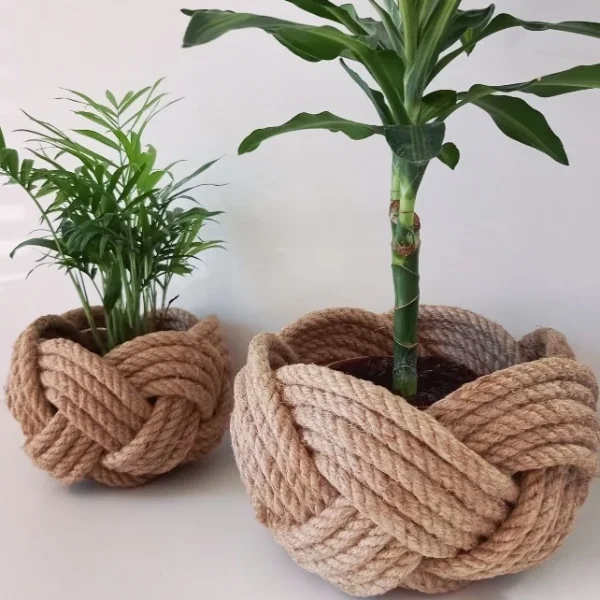
- Cotton rope or clothesline
- Hot glue gun
- Fabric dye or paint (optional)
- Scissors
A rope basket stores blankets, magazines, or spring accessories without looking like storage. Coil cotton rope into a flat circle for the base, securing it with hot glue as you go, then build the sides by continuing the coil vertically.
Dip-dye or paint the bottom portion in a spring shade for an ombre effect that adds modern artistic flair. The coiling technique is quick and satisfying, and it delivers beautiful results fast.
19. Charming Teacup Candles
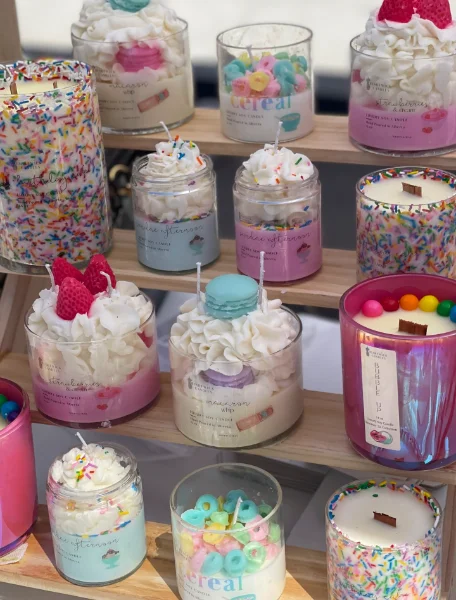
- Vintage teacups and saucers
- Soy wax flakes
- Candle wicks
- Essential oils for fragrance
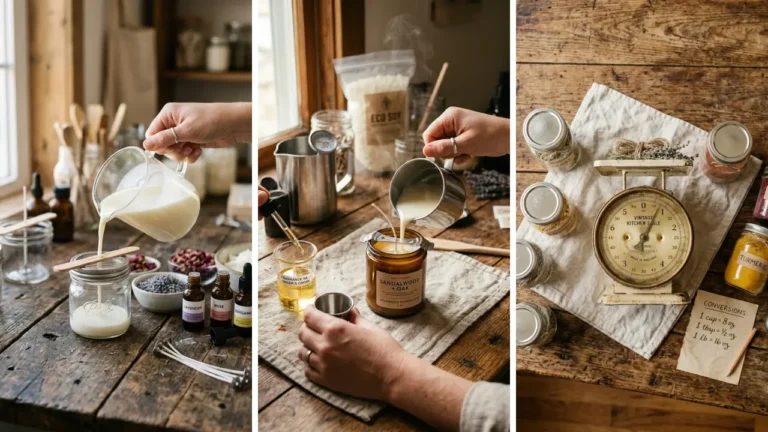
Thrift store teacups become scented candles that suit a spring table perfectly. Melt soy wax flakes according to the package directions and stir in essential oils in your favorite spring scent.
Center a wick in each teacup by resting a pencil across the rim, pour the melted wax carefully, and let it cool completely before trimming the wick. Grouped together on their saucers, these candles make a stunning tablescape display or a handmade gift for special occasions.