How to Make a Concrete Candle Holder at Home (Easy Beginner Method)
Have you ever walked into a trendy home decor store and spotted those gorgeous, minimalist concrete candle holders with jaw-dropping price tags? Here’s a secret: you can create the exact same look at home for a fraction of the cost. Learning how to make a concrete candle holder at home (easy beginner method) is surprisingly simple, and the results look incredibly professional.
This craft requires no special skills, expensive equipment, or prior experience with concrete. Whether you’re looking to upgrade your living space or create meaningful presents, this project delivers stunning results every time. You’ll discover the exact materials needed, step-by-step instructions, and pro tips that transform ordinary concrete into Instagram-worthy decor.
By the end of this guide, you’ll have the confidence to pour your first concrete candle holder and possibly discover a new creative passion. Let’s dive into this rewarding craft that combines industrial aesthetics with cozy candlelight ambiance.
Why Concrete Candle Holders Make Perfect DIY Projects

Concrete crafts have exploded in popularity, and for good reason. The material is incredibly affordable, with a bag of quick-setting concrete costing just a few dollars. This makes it perfect for experimenting without financial stress.
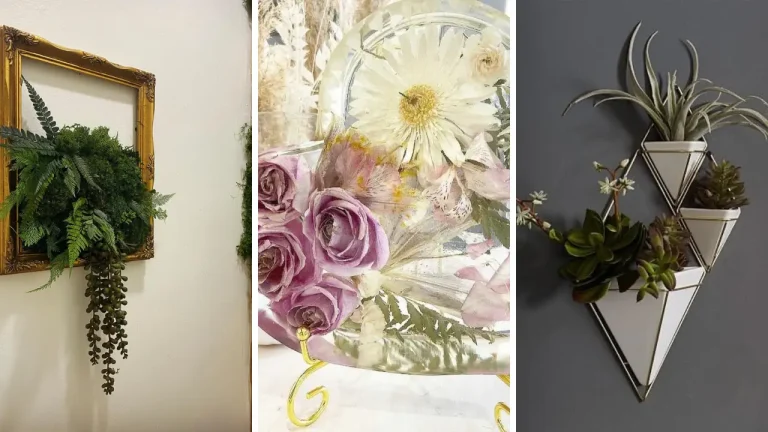
The aesthetic appeal is undeniable. Concrete brings that coveted industrial-chic vibe into any space. Whether your home leans modern, bohemian, or Scandinavian, these holders blend seamlessly.
If you enjoy exploring fun crafts to make at home, concrete projects offer instant gratification. Most pieces cure within 24-48 hours, meaning you can enjoy your creation by the next day. Plus, each piece comes out unique due to natural variations in the concrete.
Essential Materials for Your Concrete Candle Holder

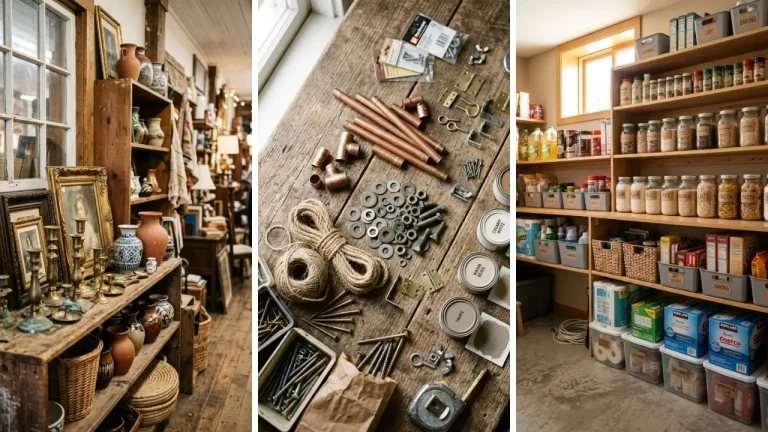
Gathering the right supplies is crucial for success. The good news? Most items are readily available at hardware stores or online.
Here’s what you need: Concrete mix: Choose quick-setting concrete or cement-based craft mix. Avoid mixes with large aggregate stones—they create rough textures unsuitable for small projects. Molds: Get creative here!
Plastic cups, yogurt containers, silicone muffin molds, or cardboard boxes all work beautifully. Silicone molds release easiest and create the smoothest finish. Inner mold: You need something to create the candle cavity.
Shot glasses, small glass votives, or even tea light candles work perfectly. Coat them with cooking spray for easy removal.
Additional supplies:
- Mixing container (disposable plastic works great)
- Stirring stick or old spoon
- Cooking spray or petroleum jelly
- Sandpaper (120 and 220 grit)
- Protective gloves and dust mask
- Water
Looking for budget-friendly options? Check out these dollar store crafts ideas for affordable mold alternatives that deliver expensive-looking results.
Step-by-Step Guide: How to Make a Concrete Candle Holder at Home

Now comes the exciting part. Follow these detailed steps to create your first concrete candle holder using this easy beginner method.
Step 1: Prepare Your Workspace
Cover your work surface with plastic sheeting or old newspapers. Concrete can stain, so protect tables and floors. Work in a well-ventilated area since concrete dust isn’t pleasant to breathe.
Put on your gloves and dust mask. Concrete is alkaline and can irritate skin with prolonged contact. Safety first!
Step 2: Prepare Your Molds
Coat the inside of your outer mold generously with cooking spray or petroleum jelly. This release agent prevents concrete from bonding to the mold surface. Similarly, coat the outside of your inner mold.
Remember, the inner mold creates the cavity where your candle sits, so its exterior touches the concrete.
Step 3: Mix the Concrete

Follow package directions for water-to-concrete ratios. Generally, you want a consistency similar to thick pancake batter or peanut butter. Too watery, and it weakens the final product.
Too thick, and it won’t flow into mold details. Mix thoroughly for 2-3 minutes, scraping the sides and bottom of your container. Eliminate all dry pockets for consistent strength throughout your holder.
Step 4: Pour and Position
Pour concrete into your prepared outer mold, filling it about two-thirds full. Tap the mold gently against your work surface to release trapped air bubbles. These bubbles create pockmarks on your finished surface.
Push your inner mold into the center of the concrete. It will try to float! Weigh it down with coins, stones, or tape it in position.
The inner mold should sit deep enough to create adequate candle depth but not touch the bottom.
Step 5: Cure and Unmold
Let your creation cure undisturbed for 24-48 hours. Patience is essential here. Unmolding too early results in crumbling or cracking.
After curing, gently flex silicone molds to release the concrete. For rigid plastic molds, carefully cut them away if needed. Remove the inner mold by twisting gently.
Step 6: Finishing Touches
Sand rough edges with 120-grit sandpaper, then smooth with 220-grit. This creates comfortable, safe edges. Wipe away dust with a damp cloth.
Optional: seal your holder with concrete sealer for enhanced durability and a subtle sheen. This step prevents moisture absorption and makes cleaning easier.
Creative Design Ideas for Beginners

Once you master the basic technique, experiment with these variations to personalize your concrete candle holders. Color additions: Mix concrete pigments or acrylic paint directly into your wet concrete for colored holders. Start with small amounts—a little pigment goes far.
Terracotta, black, and sage green are particularly trendy. Texture experiments: Line your mold with bubble wrap, lace, or textured fabric before pouring. These materials imprint patterns onto your concrete surface.
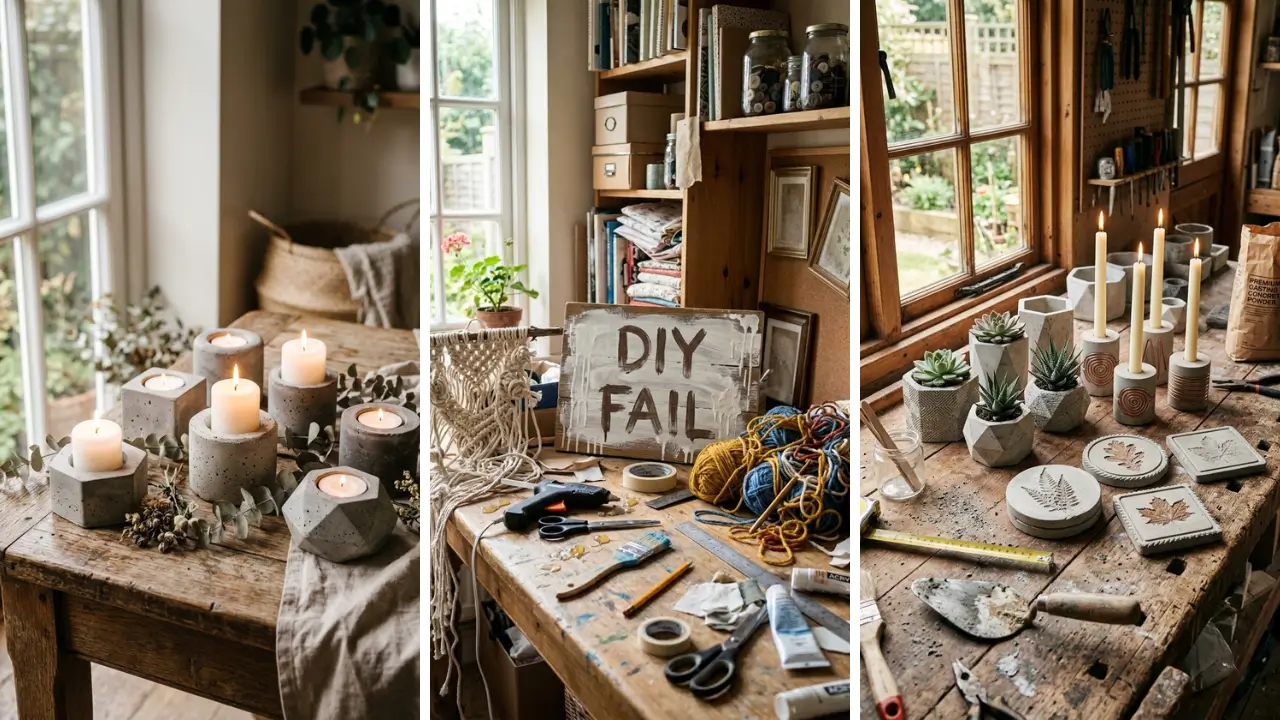
Geometric shapes: Use origami-folded cardboard or 3D-printed molds for modern geometric designs. Hexagons and irregular faceted shapes look stunning. These concrete holders make excellent handmade gift craft ideas for housewarmings, weddings, or holidays.
Personalize them with paint, stamps, or embedded items like dried flowers.
Common Mistakes and How to Avoid Them

Every beginner makes mistakes. Here’s how to sidestep the most common ones and achieve professional results on your first try. Air bubbles: Tapping isn’t optional.
Spend a full minute tapping your mold after pouring. For smoother surfaces, try poking a toothpick along the mold edges to release stubborn bubbles. Cracking: This usually indicates too much water in your mix or premature unmolding.
Stick to recommended ratios and full cure times. Stuck molds: Generous release agent application solves this problem. When in doubt, add more cooking spray.
Silicone molds almost never stick. Weak concrete: Using the wrong mix causes fragile results. Avoid mortar mix—it lacks the aggregate needed for structural integrity in small projects.
Quick-setting concrete or craft-specific mixes perform best. Uneven bases: Your holder won’t sit flat if the mold wasn’t level during curing. Use a level or place molds on a guaranteed flat surface.
Styling Your Finished Concrete Candle Holders

You’ve created something beautiful—now display it proudly! Concrete candle holders suit various decor styles with proper styling. Group odd numbers together for visual interest.
Three holders of varying heights create dynamic arrangements. Place them on wooden trays for warmth contrast or mirror bases for elegant reflection. Bathrooms transform into spa-like retreats with concrete candle holders.
The moisture-resistant material handles humid environments perfectly. Pair with eucalyptus stems and white towels for magazine-worthy aesthetics. Outdoor entertaining becomes elevated with these durable holders.
Unlike glass, concrete won’t shatter if knocked over. Use citronella candles for functional pest control during summer gatherings. If you enjoy quick projects like this one, explore more home craft projects quick enough to complete in a weekend.
Taking Your Concrete Crafts Further

Once you’ve mastered candle holders, the concrete crafting world opens wide. Consider making matching coasters, planters, or jewelry dishes using the same techniques. Experiment with embedding objects like marbles, shells, or metallic leaf into your concrete surfaces.
Pour over preserved flowers for one-of-a-kind art pieces. Advanced crafters explore terrazzo-style concrete by mixing colorful stone chips into white cement. The polished result mimics expensive flooring materials at craft-project prices.
Your concrete candle holders also make thoughtful additions to DIY handmade gifts collections. Pair them with quality candles and gift them beautifully wrapped for occasions throughout the year.
Conclusion
Creating beautiful home decor doesn’t require expensive store purchases or advanced artistic skills. Understanding how to make a concrete candle holder at home (easy beginner method) empowers you to craft stunning, personalized pieces whenever inspiration strikes. The process is forgiving, affordable, and genuinely enjoyable.
From gathering simple materials to unmolding your finished creation, each step brings satisfaction. Your unique holders will spark conversations and compliments from everyone who sees them. Remember, imperfections add character to handmade items.
Those tiny air bubbles or slight color variations tell the story of something crafted with care, not mass-produced in a factory. That authenticity makes handmade concrete decor special. Now it’s your turn!
Gather those materials, clear your workspace, and pour your first concrete candle holder this weekend. Share your creations in the comments below—we’d love to see what you make. Have questions about the process?
Drop them below, and let’s troubleshoot together!
Frequently Asked Questions
Q: How long does it take to make a concrete candle holder at home using the easy beginner method? A: Active working time is only 15-20 minutes. However, curing requires 24-48 hours before unmolding.
Plan your project accordingly, starting one day to enjoy results the next. Q: What type of candles work best in concrete holders? A: Tea lights and votive candles work perfectly since they’re contained in their own metal or glass cups.
Pillar candles also work well. Avoid taper candles unless you’ve created appropriate narrow cavities. Q: Is concrete safe to use for candle holders?
A: Absolutely! Concrete is non-flammable and heat-resistant, making it ideal for candle holders. Always use candles in appropriate vessels within the concrete cavity and never leave burning candles unattended.
Q: Can I paint or decorate my concrete candle holder after it cures? A: Yes! Acrylic paints, spray paints, and concrete stains all adhere well to cured concrete.
Apply sealant after decorating for lasting results. Gold leaf accents create particularly stunning effects. Q: Why did my concrete candle holder crack during curing?
A: Cracking typically results from excess water in the mix or temperature extremes during curing. Ensure proper water ratios and cure pieces indoors at room temperature. Covering with plastic during the first 12 hours helps retain moisture for stronger results.