18 Creative DIY Easy Easter Decorations to Make at Home With Simple Supplies Ideas
Are you ready to transform your home into a festive Easter wonderland without breaking the bank? Creating beautiful seasonal decorations doesn’t require expensive store-bought items or professional crafting skills. With simple supplies found around your house, you can craft stunning Easter pieces that impress guests and bring joy to your family.
These 18 easy Easter decorations to make at home with simple supplies will inspire your creative spirit. Let’s dive in…
1. Charming Bunny Mason Jars
Materials Needed:
- Mason jars
- White acrylic paint
- Pink pom poms
- White pipe cleaners
- Black marker
Transform ordinary mason jars into adorable bunny containers perfect for holding Easter candy or fresh flowers. Paint the outside with white acrylic paint and let it dry completely before adding facial features. Use pipe cleaners bent into ear shapes and attach them to the lid.
Add a fluffy pink pom pom nose and draw whiskers with your marker. These jars make excellent centerpieces for your Easter table. They also work wonderfully as gifts filled with homemade treats.
2. Elegant Eggshell Candle Holders
Materials Needed:
- Empty eggshells
- Tea light candles
- Egg carton
- Acrylic paint
- Small brush
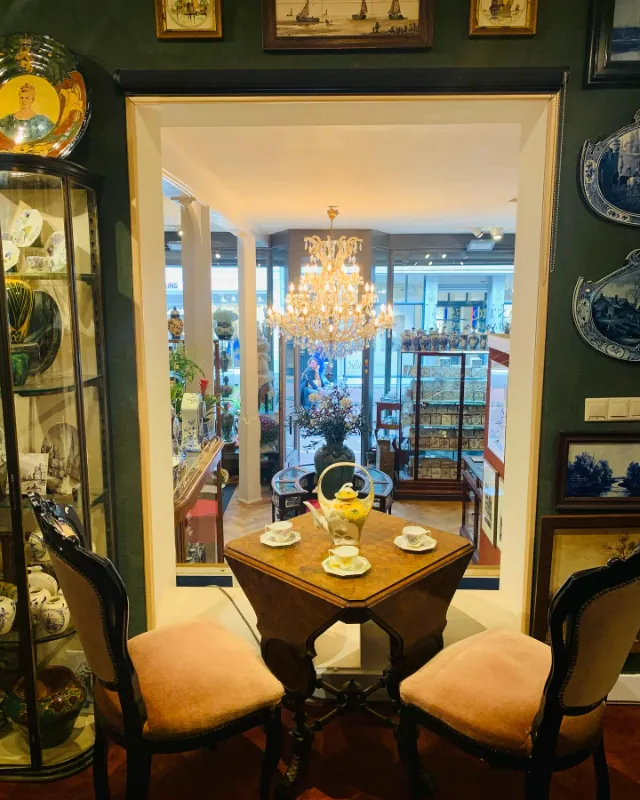
Create sophisticated eggshell candle holders that add warm ambiance to your Easter dinner. Carefully crack eggs near the top and rinse the shells thoroughly before drying them completely. Paint the shells in pastel colors or metallic gold for an upscale look.
Place tea lights inside and arrange them on a decorated egg carton base. The gentle flickering candlelight through painted shells creates a magical atmosphere. This project transforms kitchen waste into stunning decor.
3. Whimsical Pom Pom Garland
Materials Needed:
- Yarn in pastel colors
- Scissors
- String or twine
- Fork or pom pom maker
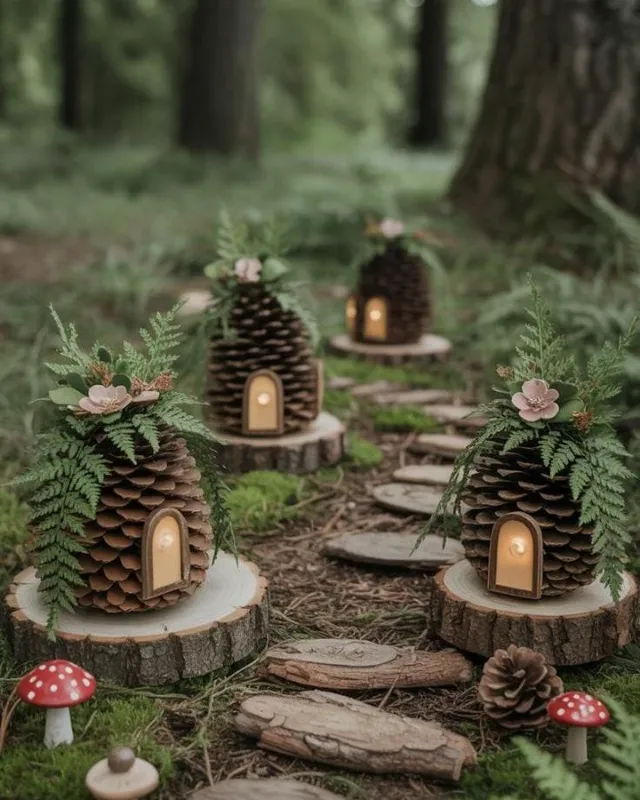
String together fluffy pom poms in cheerful Easter colors to create a festive garland. Wrap yarn around a fork repeatedly, tie it in the middle, and cut the loops to form perfect pom poms. Thread your finished pom poms onto twine or string, spacing them evenly.
Alternate colors for visual interest throughout the garland. Hang your whimsical garland across mantels, doorways, or along staircases. This simple craft adds instant charm to any room.
If you enjoy these fun crafts to make at home, you’ll love how quickly this project comes together.
4. Rustic Carrot Door Hanger
Materials Needed:
- Orange burlap or fabric
- Green ribbon
- Stuffing material
- Hot glue gun
- Twine
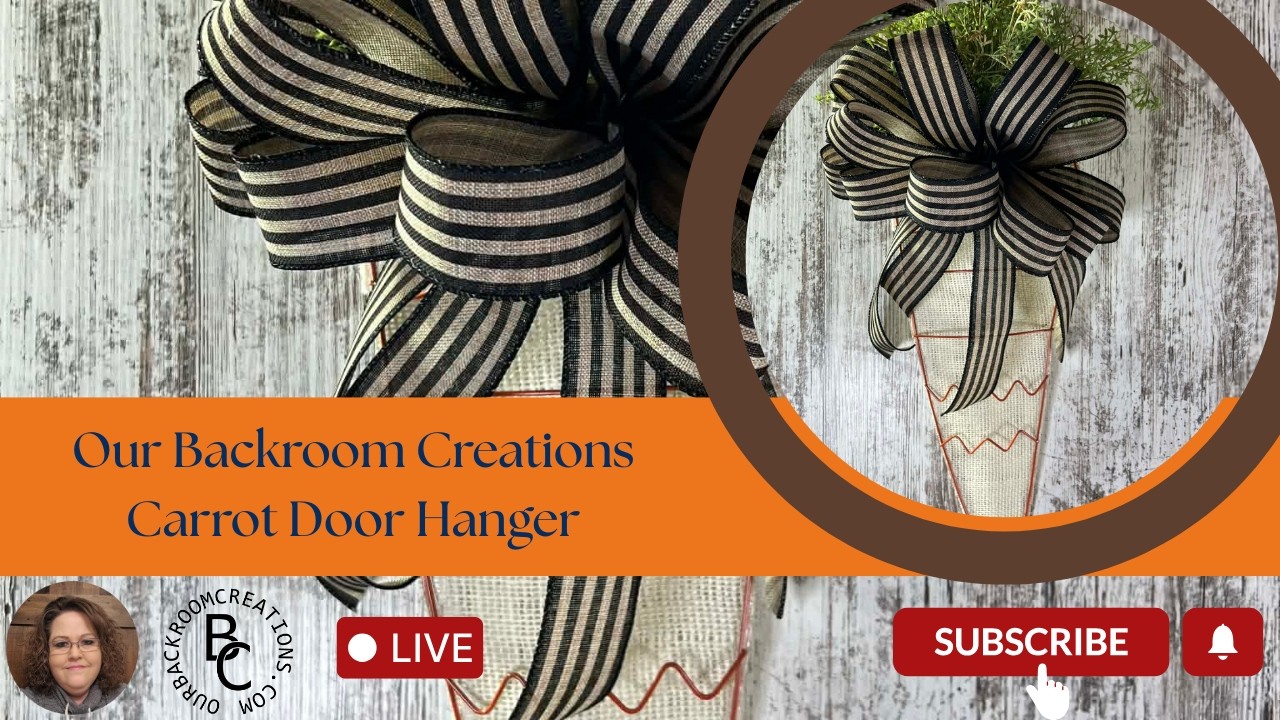
Welcome guests with a charming carrot door hanger that celebrates the Easter bunny’s favorite snack. Cut orange fabric into a cone shape and sew or glue the edges together. Stuff the carrot shape firmly with batting or newspaper.
Attach green ribbon strips at the top to create leafy carrot tops. Add a twine loop for hanging and display proudly on your front door. This rustic decoration brings farmhouse charm to your entrance.
5. Simple Paper Plate Chicks
Materials Needed:
- Yellow paper plates
- Orange construction paper
- Googly eyes
- Yellow feathers
- Glue stick
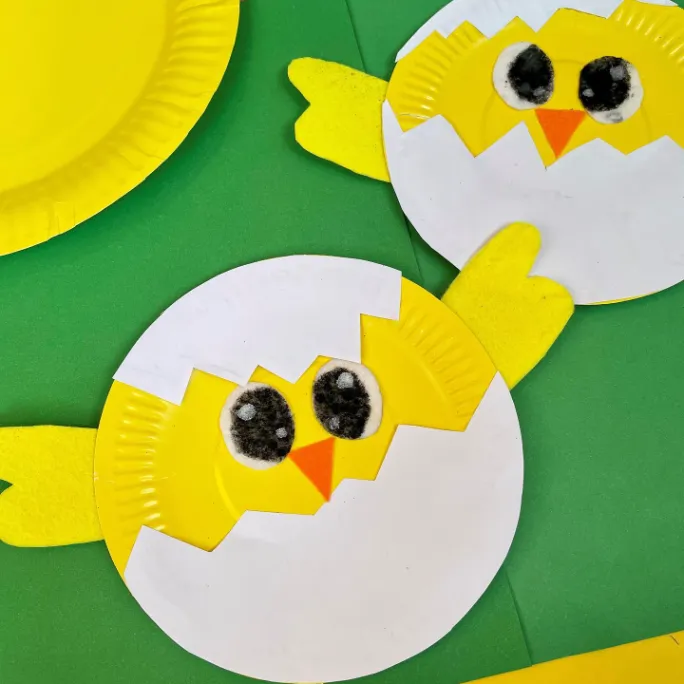
Craft adorable paper plate chicks that kids absolutely love making. Fold a yellow paper plate in half to create the chick’s body with an opening for the beak. Cut a diamond shape from orange paper for the beak and glue it inside the fold.
Add googly eyes and fluffy yellow feathers for texture. These cheerful chicks make perfect classroom activities or party crafts. Display them on windowsills or string them together as bunting.
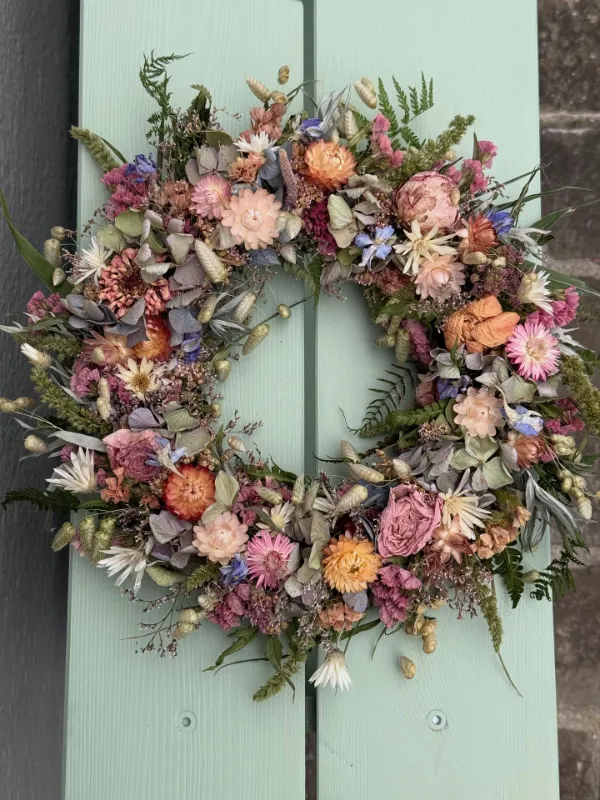
6. Natural Twig Wreath
Materials Needed:
- Flexible twigs or branches
- Floral wire
- Ribbon
- Faux eggs
- Small flowers
Construct a beautiful twig wreath using branches gathered from your backyard. Bend flexible twigs into a circular shape and secure them with floral wire. Layer additional twigs around the base until you achieve your desired thickness.
Weave in small flowers and attach decorative eggs with wire or hot glue. Finish with a ribbon bow at the bottom for an elegant touch. This natural wreath brings organic beauty to your front door.
7. Colorful Tissue Paper Eggs
Materials Needed:
- Balloons
- Tissue paper squares
- Mod Podge or glue mixture
- Foam brush
- String
Create lightweight tissue paper eggs that float beautifully when hung from ceilings. Blow up small balloons to egg-shaped sizes and cover them with glue-soaked tissue paper. Layer different pastel tissue colors in overlapping patterns for depth.
Allow everything to dry completely before popping the balloon inside. These translucent eggs catch light beautifully near windows. Group several together at varying heights for maximum impact.
8. Adorable Sock Bunnies
Materials Needed:
- White socks
- Rice or beans for filling
- Rubber bands
- Ribbon
- Markers or buttons
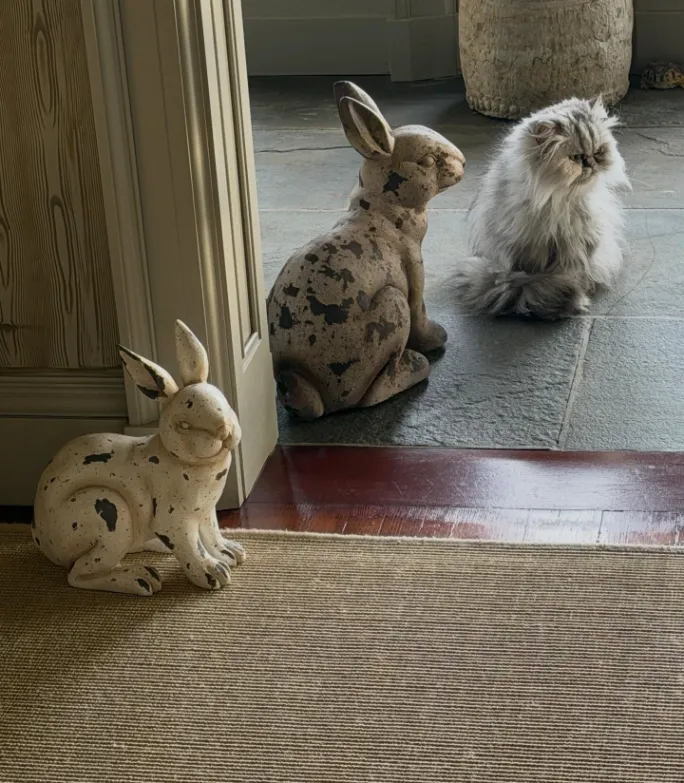
Transform lonely white socks into cuddly bunny decorations without any sewing required. Fill the sock with rice, leaving enough room at the top for ears. Use rubber bands to create the head and body sections.
Cut the remaining sock top into two ear shapes and fluff them upward. Add a ribbon bow around the neck and draw a cute face. These bunnies make wonderful shelf decorations or thoughtful handmade gift craft ideas for friends.
9. Painted Rock Garden Markers
Materials Needed:
- Smooth river rocks
- Acrylic paint
- Paint brushes
- Clear sealant spray
- Permanent markers
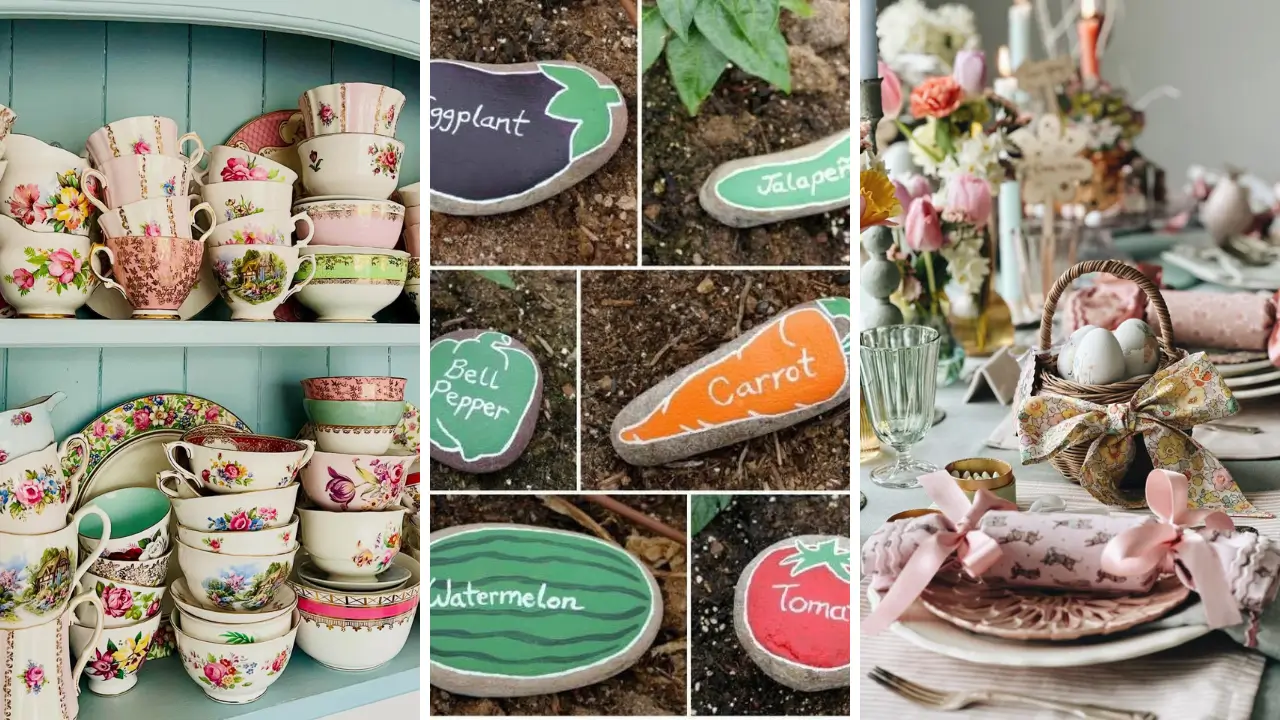
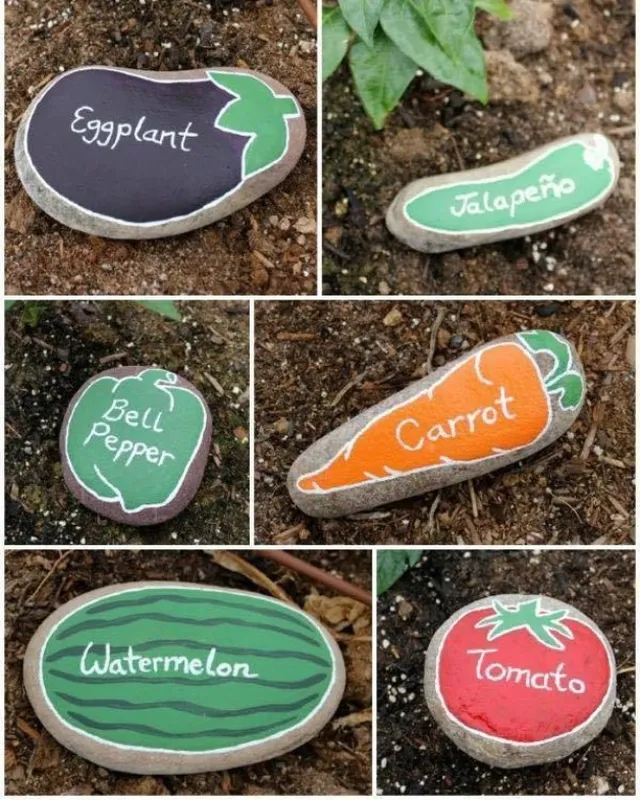
Turn ordinary river rocks into Easter-themed garden decorations or indoor displays. Paint rocks as eggs, bunnies, chicks, or carrots using bright acrylic colors. Add details with fine-tip markers once the base paint dries.
Seal everything with clear spray to protect against weather. Scatter your painted rocks throughout garden beds or arrange them in decorative bowls. These durable decorations last for many Easter seasons.
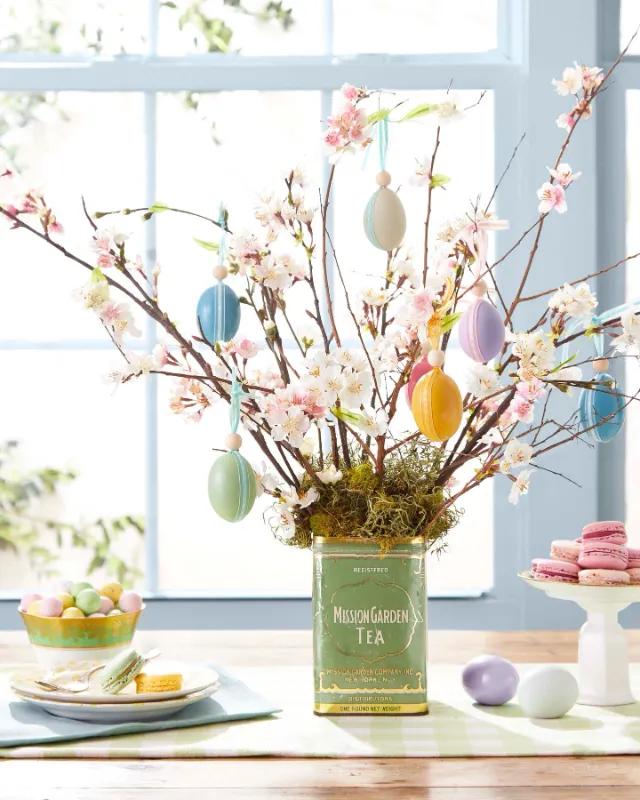
10. Festive Egg Tree Centerpiece
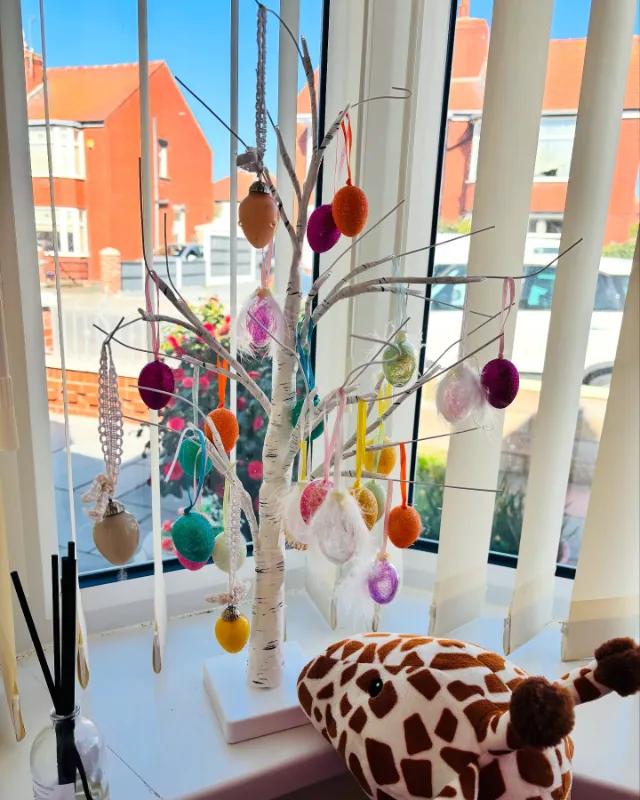
Materials Needed:
- Tree branches
- Vase or jar
- Blown eggs or plastic eggs
- Ribbon
- Decorative stones
Build a stunning egg tree centerpiece that becomes the focal point of your Easter table. Place attractive branches in a weighted vase filled with decorative stones. Hang decorated eggs from branches using thin ribbons tied through small holes.
Space eggs evenly throughout the branches. Add small bows or flower buds between eggs for extra charm. This elegant display works beautifully for both casual and formal settings.
11. Sweet Candy Jar Toppers
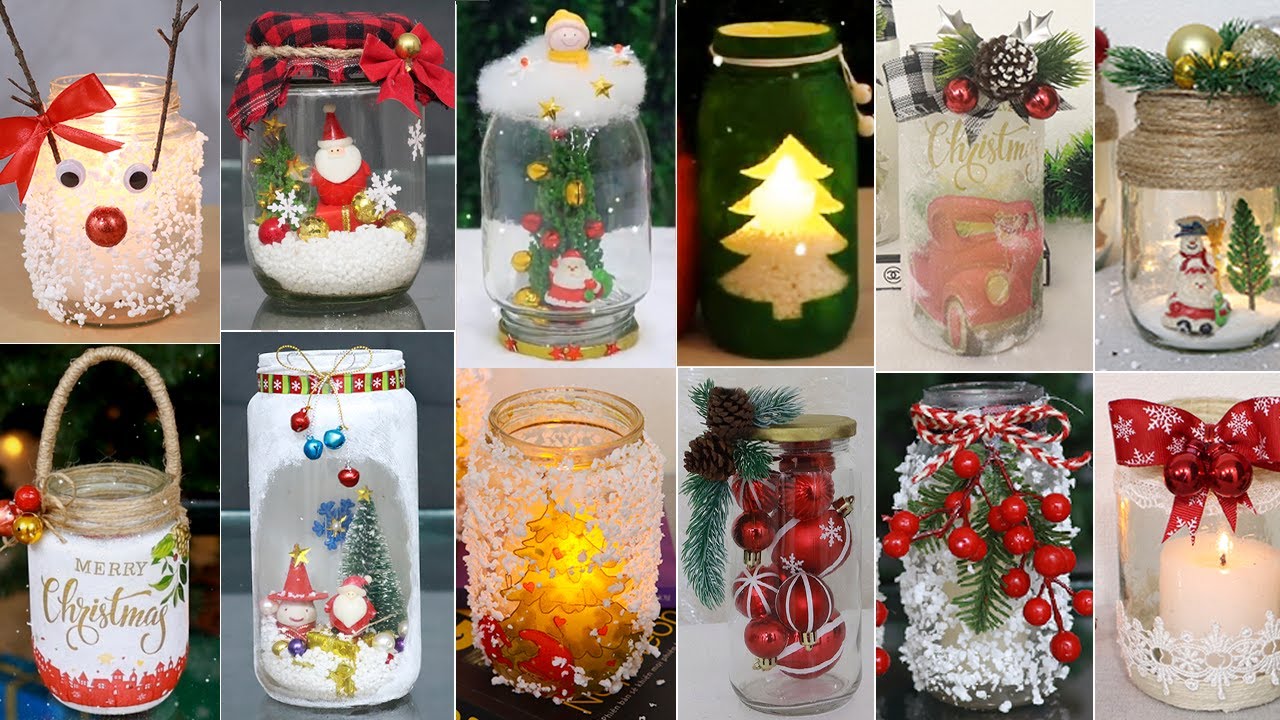
Materials Needed:
- Mason jar lids
- Small plastic animals
- Spray paint
- Hot glue
- Clear jars
Create whimsical candy jar toppers by gluing small plastic bunnies or chicks to jar lids. Spray paint the entire lid and animal in matching pastel colors. Allow paint to dry completely before attaching to clear jars filled with Easter candies.
The uniform color creates a sophisticated, modern look. These decorative jars make perfect party favors or hostess gifts. They also add playful charm to kitchen counters during the holiday.
12. Woven Basket Liners
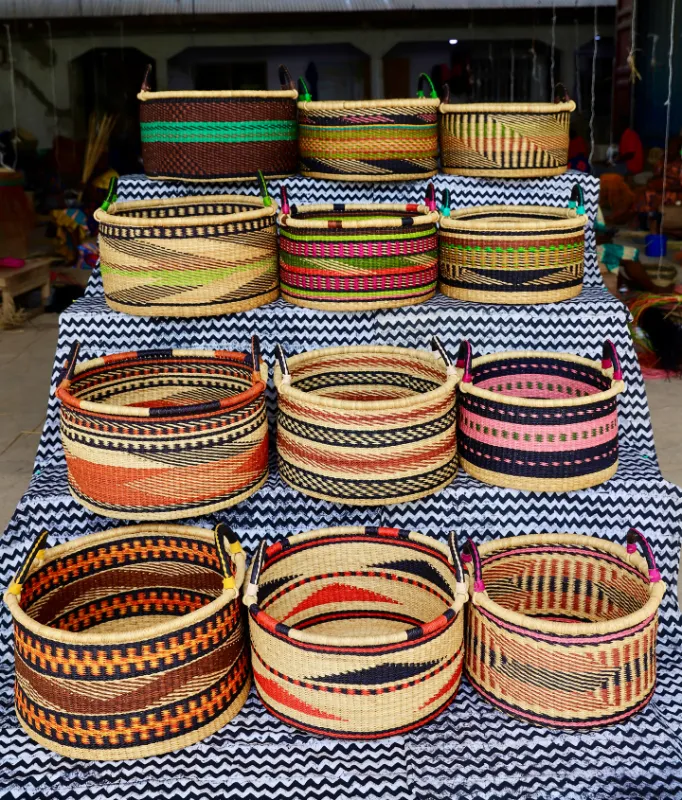
Materials Needed:
- Fabric scraps
- Pinking shears
- Ribbon
- Measuring tape
- Fabric glue
Sew or glue custom basket liners that transform plain baskets into Easter treasures. Measure your basket dimensions and cut fabric accordingly with pinking shears. Fold edges and secure with fabric glue for a no-sew option.
Add ribbon ties at corners to keep liners in place. Choose spring-themed fabrics with flowers, eggs, or bunny prints. These liners elevate simple baskets into beautiful gift containers.
Exploring more home craft projects quick like this one helps build your creative skills.
13. Glittery Egg Magnets
Materials Needed:
- Wooden egg shapes
- Acrylic paint
- Glitter
- Mod Podge
- Small magnets
Craft sparkly egg magnets that brighten your refrigerator throughout the Easter season. Paint wooden egg shapes in pastel colors and let them dry thoroughly. Apply Mod Podge and sprinkle fine glitter over wet surfaces.
Shake off excess and seal with another coat of Mod Podge. Glue strong magnets to the backs once everything dries. These cheerful magnets hold Easter cards and children’s artwork beautifully.
14. Elegant Napkin Bunny Ears
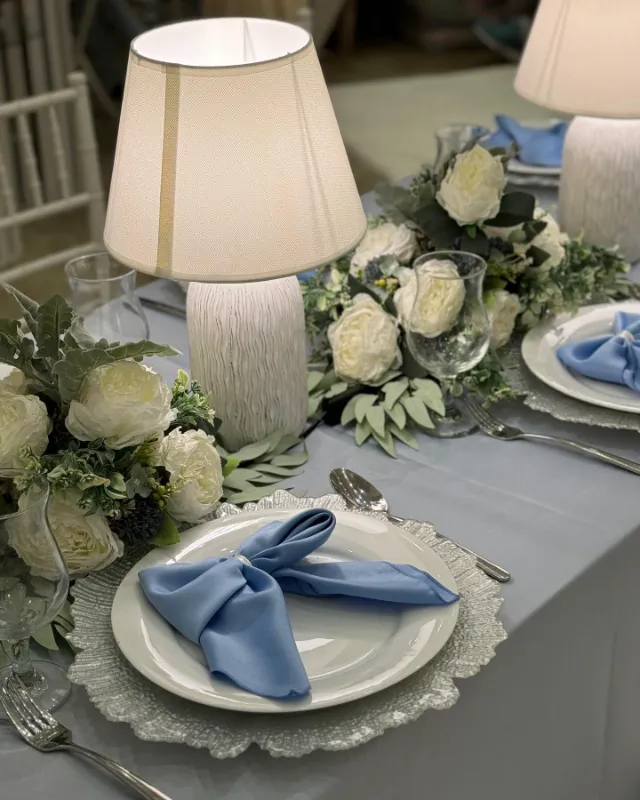
Materials Needed:
- Cloth napkins
- Napkin rings
- Pink ribbon
- Pom poms
- Wire
Fold cloth napkins into bunny ear shapes that elevate your Easter table setting instantly. Roll napkins lengthwise and fold in half through decorative rings. Adjust the ends to create perky ear shapes standing upright.
Add small pink pom poms or bows for nose details at the ring. These elegant napkin bunnies impress dinner guests without requiring special purchases. They work with napkins you already own.
15. Cheerful Window Clings
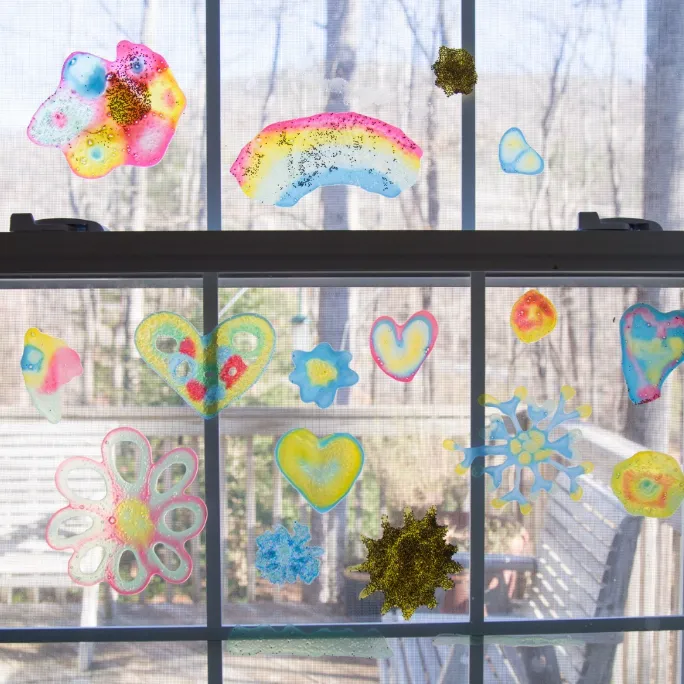
Materials Needed:
- Puffy paint
- Plastic sheet protectors
- Easter templates
- Tape
Make reusable window clings using puffy paint and plastic surfaces. Print Easter templates and slide them inside sheet protectors for tracing guides. Trace designs with puffy paint directly onto the plastic.
Allow clings to dry completely for 24-48 hours before peeling. Press your flexible clings onto windows where they stick without adhesive. Store flat between uses for many years of enjoyment.
16. Vintage Teacup Planters
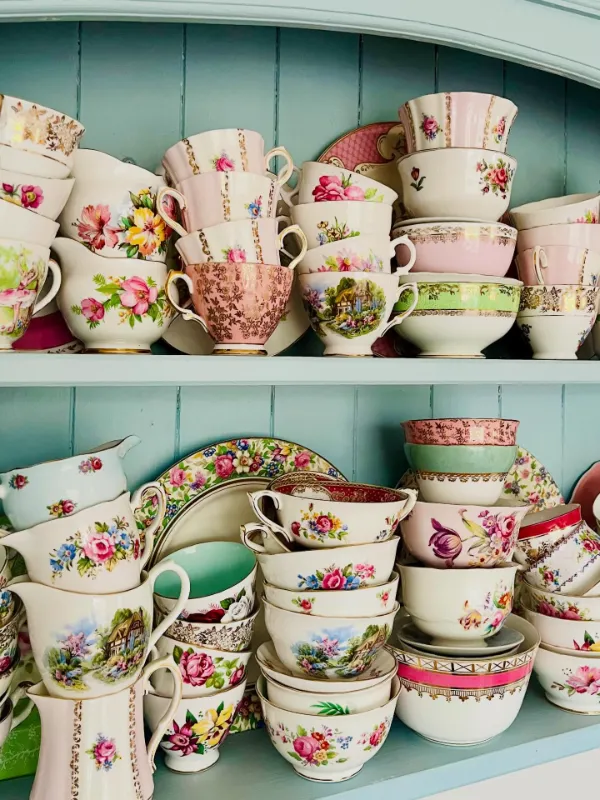
Materials Needed:
- Vintage teacups
- Small plants or grass seeds
- Potting soil
- Pebbles
- Decorative moss
Transform thrift store teacups into charming Easter planters filled with spring greenery. Add small pebbles to cup bottoms for drainage. Fill with potting soil and plant wheat grass seeds or small succulents.
Water sparingly to prevent overflow without drainage holes. Arrange several vintage teacup planters together as a unique centerpiece. Tuck in small decorative eggs among the growing grass.
For more creative display ideas, explore DIY canvas wall art ideas that complement seasonal decor.
17. Fabric Scrap Carrots
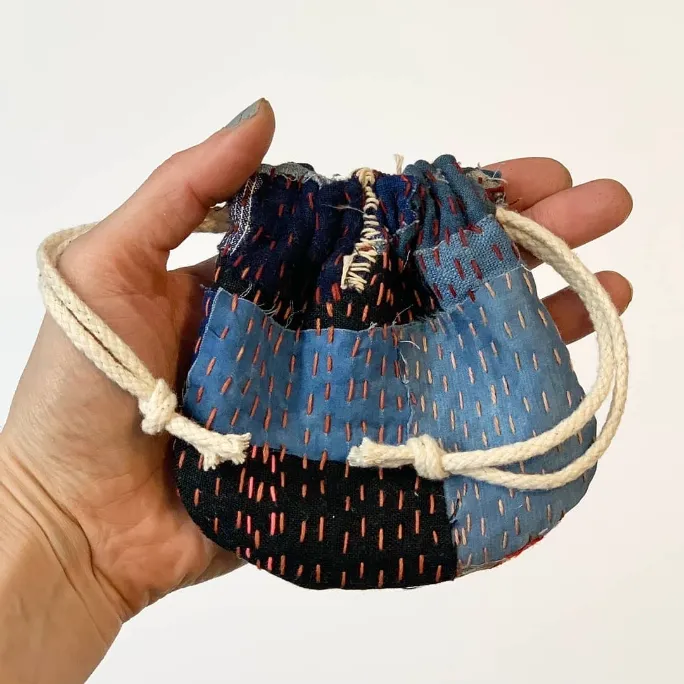
Materials Needed:
- Orange fabric scraps
- Green felt
- Stuffing
- Needle and thread
- Twine
Stitch simple fabric carrots using leftover orange material from other projects. Cut triangular shapes and sew edges together, leaving the top open. Stuff firmly with batting and insert green felt strips for carrot tops.
Gather the opening and secure with decorative twine. Pile these charming carrots in wooden bowls or baskets for rustic displays. They also work beautifully scattered along table runners.
18. Joyful Spring Banner
Materials Needed:
- Cardstock in pastel colors
- Letter stencils
- Twine or ribbon
- Hole punch
- Markers or stamps
Craft a welcoming spring banner spelling “Happy Easter” or “Spring” across your mantel. Cut cardstock into pennant shapes using templates or freehand cutting. Add letters using stencils, stamps, or markers to each pennant.
Punch holes at top corners and thread twine through all pieces. Hang your colorful banner across fireplaces, doorways, or above buffet tables. This versatile decoration adapts to any Easter celebration style.
Creating DIY handmade gifts like personalized banners shows loved ones you care.
These 18 easy Easter decorations to make at home with simple supplies prove that beautiful seasonal decor doesn’t require expensive purchases or advanced skills. Grab your supplies and start creating today! Share your favorite ideas in the comments below!
Rate this post and let us know which projects you’re most excited to try this Easter season.