12 DIY Christmas Stocking Ideas to Sew and Make
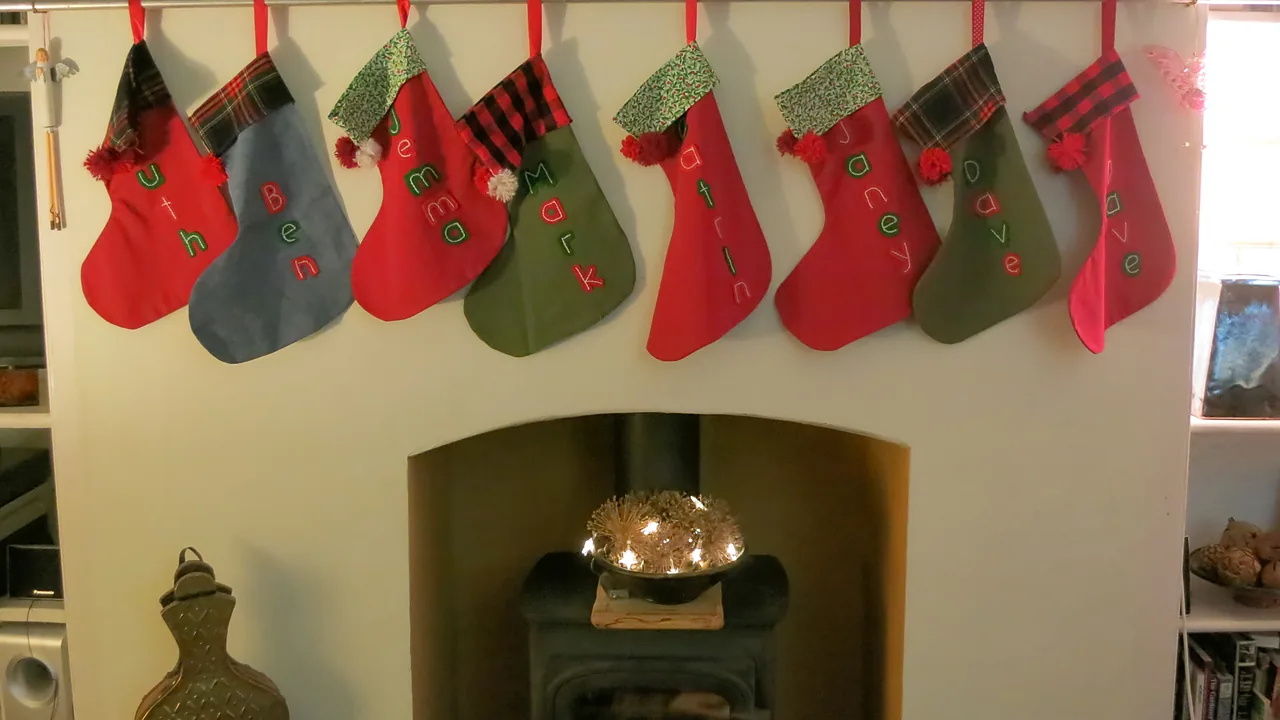
Have you ever looked at the row of shop bought stockings on the mantel and realised they all look like they came from the same shelf, because they did? A handmade one changes that in an afternoon, and it does not require a sewing machine unless you want it to. The twelve DIY Christmas stocking ideas below cover no sew versions, hand stitched ones, knitted and crocheted shapes, and a few built entirely from things already in the house. Each lists what it needs and roughly how long it takes.
What to Decide Before You Cut
Get these three right and the rest is straightforward.
- Size. A usable stocking is about 45cm from the top of the cuff to the heel, and about 20cm across the foot. Smaller than that and nothing beyond sweets fits.
- Fabric weight. Medium weight cotton, felt, canvas, and old wool blankets all hold a stocking shape when filled. Quilting cotton alone sags, so back it with fusible interfacing or a second layer.
- How it hangs. Sew the loop into the top seam rather than stitching it on afterwards. A loop added at the end tears out under weight, usually on the night it matters.
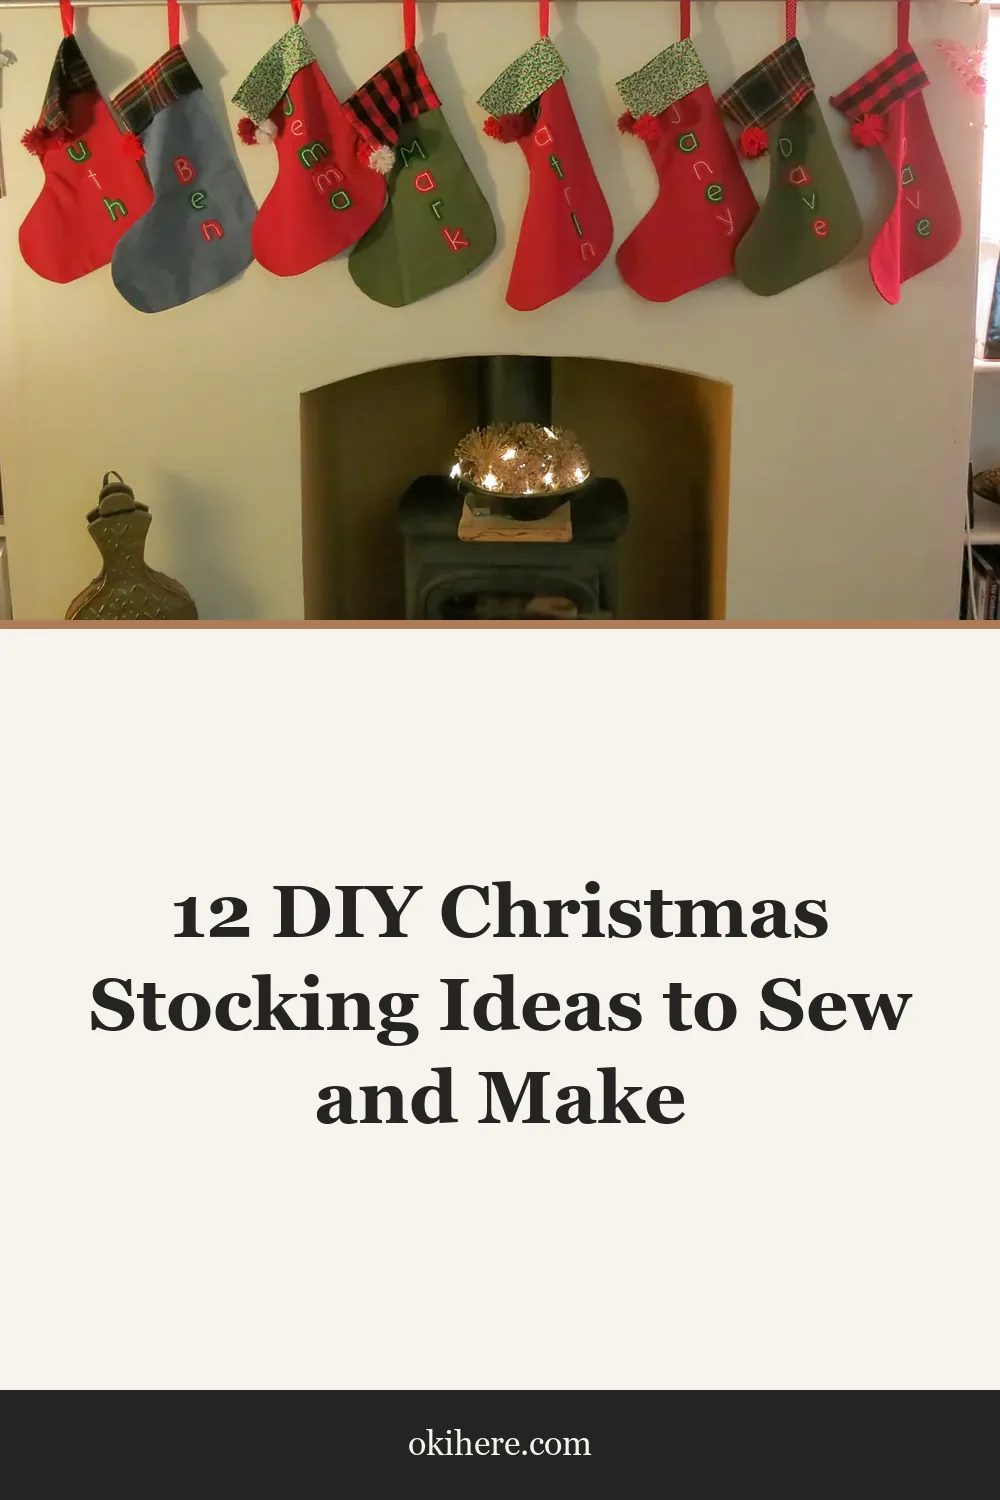
Cut one template from card and reuse it for every stocking so the set matches. Trace around it with tailors chalk on the wrong side of the fabric, and remember to flip the template for the second half or you will end up with two left feet.
1. No Sew Felt Stocking
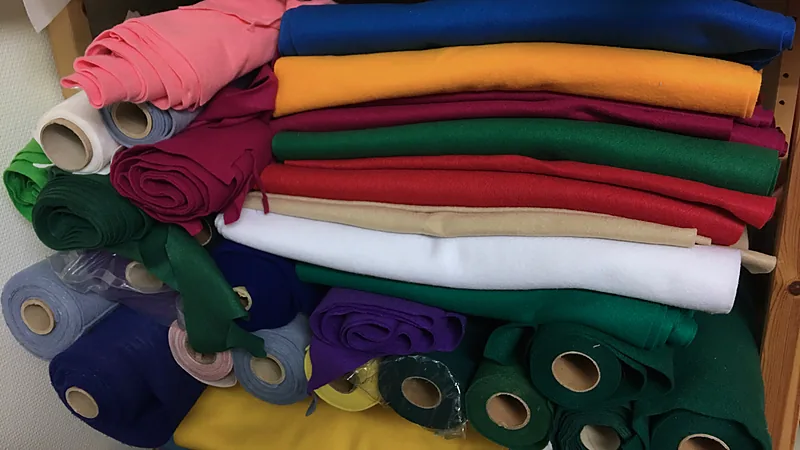
Materials: thick craft felt, fabric glue or a hot glue gun, pinking shears.
Time: 30 minutes.
Cut two stocking shapes from felt, run glue around the edge of one leaving the top open, and press the second on top. Felt does not fray, so the raw edge is the finish.
Quick tip: leave a 1cm border outside the glue line and trim it with pinking shears afterwards. The zigzag edge hides any glue that squeezed out. More in this direction sits in no sew fabric crafts.
2. Old Wool Sweater Stocking
Materials: a felted wool sweater, sewing machine or needle, lining fabric.
Time: 90 minutes.
Wash a wool sweater hot and tumble it dry to felt the fibres, which stops the knit unravelling when cut. Use the ribbed hem as the stocking cuff so you get a finished edge for free.
Quick tip: felting shrinks a sweater by roughly a third, so start with one larger than you think you need. Charity shops are the obvious source.
3. Burlap and Ticking Stocking
Materials: burlap, striped ticking for the cuff, thread.
Time: an hour.
Cut the body from burlap and the cuff from ticking, then stitch the cuff on as a separate band folded over the top. The texture contrast carries the whole piece with no further decoration.
Quick tip: burlap sheds badly when cut. Run a line of fray stop or a zigzag stitch along every raw edge before assembling.
4. Patchwork Scrap Stocking
Materials: fabric scraps, backing fabric, thread.
Time: 2 hours.
Stitch scraps into a panel slightly bigger than the template, press the seams flat, then cut the stocking shape from the finished panel. Cutting after piecing rather than before is what keeps the outline clean.
Quick tip: keep the scraps within three colours. Patchwork using everything in the bag reads as busy rather than considered.
5. Crocheted Chunky Stocking
Materials: chunky yarn, 8mm hook.
Time: 3 hours.
Work the foot flat, join into a tube for the leg, and finish with a ribbed cuff. Chunky yarn means the whole thing grows fast enough to finish in an evening.
Quick tip: line crocheted stockings with a cotton bag sewn to the inside of the cuff. Small gifts fall straight through the stitches otherwise. More patterns sit in crochet home decor ideas.
6. Canvas Drop Cloth Stocking
Materials: painters drop cloth, stencil, fabric paint.
Time: 90 minutes plus drying.
Drop cloth is cheap, heavy, and takes paint beautifully. Cut and stitch the stocking first, then stencil a name or a number on the front once it is assembled.
Quick tip: wash and dry the drop cloth before cutting. It shrinks noticeably on the first wash, and doing it afterwards distorts the shape.
7. Quilted Stocking With Batting
Materials: cotton, thin batting, backing, walking foot if you have one.
Time: 3 hours.
Sandwich batting between the outer fabric and a lining, quilt straight diagonal lines across the whole panel, then cut the stocking shape from it. The quilting makes it stand up on the mantel instead of flopping.
Quick tip: quilt the panel before cutting, always. Quilting a shape that has already been cut pulls the edges out of true.
8. Faux Fur Cuff Stocking
Materials: velvet or thick cotton body, faux fur strip, strong needle.
Time: 2 hours.
Make a plain body and add a wide faux fur cuff folded over the top. The cuff does all the visual work, so the body can be the simplest fabric you own.
Quick tip: cut faux fur from the back with a craft knife, moving along one pile length at a time, rather than cutting through with scissors. Scissors chop the pile and leave a visible bald seam.
9. Embroidered Name Stocking
Materials: linen or cotton body, embroidery floss, hoop, needle.
Time: 2 hours plus embroidery.
Embroider the name on the cuff panel while it is still flat and held in a hoop, then assemble. Backstitch for the letters and a satin stitch for any small motif is enough.
Quick tip: write the name in pencil first and embroider over it. Freehand lettering drifts upward towards the end of a word almost every time.
10. Paper Bag Stocking for a Party
Materials: kraft paper bags, scissors, twine, stamps.
Time: 10 minutes each.
Cut a stocking shape through both layers of a flat paper bag, leaving the bottom fold intact so it stays a pocket. Punch a hole and thread twine for hanging.
Quick tip: this is the one for a classroom or a party where twenty are needed and nothing has to survive past the day.
11. Denim Pocket Stocking
Materials: old jeans, thread, machine.
Time: 90 minutes.
Cut the stocking so the existing back pocket of the jeans sits on the front of the finished piece. The pocket becomes a small compartment for a note or a sweet.
Quick tip: use a denim needle and lengthen the stitch. A standard needle will skip stitches or snap on the thicker seams.
12. Monogram Felt Stocking Set
Materials: felt in one base colour, contrast felt letters, glue or thread.
Time: 45 minutes each.
Make the whole set identical in one colour and vary only the monogram letter. It is the fastest route to a mantel that looks coordinated rather than collected.
Quick tip: cut the letters with a template rather than freehand, and cut them all before gluing any. Consistency across the set is what makes it read as a set. Related pieces sit in handmade Christmas fabric gifts.
How to Hang Them So the Mantel Looks Finished
A row of stockings is easy to get slightly wrong. Three things fix most of it.
- Even spacing beats centring. Measure the mantel, divide by the number of stockings plus one, and mark the gaps. Hanging by eye always drifts to one side.
- Match the hanging height, not the stocking length. Line up the tops of the cuffs. Different lengths below that line look intentional; different heights above it look like a mistake.
- Weight them before judging. An empty stocking hangs flat and an unflattering shape. Put a rolled towel inside while you adjust the spacing.
Hooks matter more than people expect. Adhesive hooks fail under a filled stocking once a room warms up, which is exactly what happens when a fire is lit beneath them. Weighted mantel hangers that hook over the shelf edge hold far more, and they leave no marks on the wood. If the mantel is narrow, a length of dowel resting on two brackets above it carries the whole row and keeps everything clear of the heat.
Where there is no mantel at all, a stair bannister, the back of a row of dining chairs, or a curtain pole all work. The only requirement is that the tops sit level, because that single line is what the eye reads.
Mistakes That Ruin a Homemade Stocking
- Forgetting to flip the template. Two identical halves give you two outward facing toes. Cut one face up and one face down.
- A loop stitched on at the end. It will tear out. Catch it in the top seam when you close the cuff.
- Quilting cotton with no backing. It has no body and the stocking collapses the moment it is filled.
- Cutting faux fur with scissors. It leaves a bald line along every seam.
- Making one and stopping. Cut all the pieces for the set in one session, because matching the fabric weeks later rarely works out.
Conclusion
If you have one evening and no machine, cut the no sew felt version or the monogram set. If you want the piece that lasts, the quilted stocking and the felted wool sweater one both survive decades of being stuffed and emptied, and both look better after a few years rather than worse.
Make them in October or early November while there is still time to redo one that goes wrong. Once the season is over, the guide to storing holiday decor covers packing fabric pieces so they come out uncreased, and the rest of the season sits in easy Christmas crafts on a budget and DIY advent calendar ideas.
Frequently Asked Questions
Q: What size should a Christmas stocking be?
A: About 45cm from the top of the cuff to the heel and roughly 20cm across the foot. That holds a book, a pair of socks, and several small items. Anything under about 30cm only takes sweets.
Q: What is the best fabric for a DIY Christmas stocking?
A: Thick craft felt is easiest because it does not fray and needs no sewing. For something that lasts, use felted wool, canvas drop cloth, or quilting cotton backed with batting, since all three keep their shape when the stocking is full.
Q: Can a Christmas stocking be made without sewing?
A: Yes. Two felt shapes glued around the edge with fabric glue make a stocking that holds up for several seasons. Cut the outline with pinking shears afterwards so the edge looks deliberate rather than raw.
Q: How do you stop a homemade stocking from tearing when it is full?
A: Sew the hanging loop into the top seam rather than attaching it afterwards, and reinforce the heel and toe with a second row of stitching. Those three points take almost all the strain from a filled stocking.