How to Make Wall Art on a Budget: 8 Creative Ideas
Quick summary
- Thrifted frames painted one single colour turn a pile of mismatched finds into a matching set.
- Several of these projects use material already in the house, so the real outlay is often just a frame.
- Spacing and scale decide whether finished work reads as deliberate, far more than the artwork does.
Quick answer: The cheapest wall art comes from pressed leaves in thrifted frames, washi tape shapes applied straight to the wall, and tape-resist painting on a plain canvas. None need drawing ability, most cost under fifteen dollars, and the result depends more on even spacing and the right size than on the piece itself.
Have you ever priced the art you actually wanted for a blank wall and quietly closed the tab? Framed prints routinely run from fifty to five hundred dollars each, and a wall usually needs more than one. You are not alone, and the gap between that figure and a bare wall is smaller than it looks.
These eight projects all work without drawing ability, and most use supplies from a craft shop, a dollar store, or a walk outdoors. Each one covers the materials, the rough cost, and the detail that decides whether it looks intentional once it is hanging.
What You Will Need (Basic Supply List)
Before diving into specific projects, here is a list of basic supplies that cover most of the ideas below. You do not need everything on this list — pick the projects that match what you already have.
- Blank canvases (craft store, $3-8 each)
- Acrylic paint set ($10-15 for a basic set)
- Painter’s tape / washi tape
- Hot glue gun + glue sticks
- Wooden embroidery hoops (various sizes)
- Cotton macrame cord (3mm or 5mm) — see the guide to where to buy macrame supplies on a budget
- Picture frames (thrift stores are goldmines)
- Fabric scraps
- Mod Podge or craft glue
- Command strips (for renters who cannot put holes in walls)
Total estimated cost: $30-50 for enough supplies to make 5-8 art pieces.
8 Budget Wall Art Ideas That Look Expensive
1. Canvas Paintings With Tape Resist
This is one of the easiest projects for complete beginners, and the results always look surprisingly professional.
How to do it:
1. Start with a blank canvas — any size works, but 16×20 or 18×24 creates a nice statement piece.
2. Use painter’s tape to create geometric patterns across the canvas. Press the tape down firmly to prevent paint from bleeding underneath.
3. Paint over the entire canvas with one or more colors. You can do a single bold color, an ombre gradient, or a color-block pattern.
4. Let the paint dry completely (at least 2 hours, ideally overnight).
5. Carefully peel off the tape to reveal sharp, clean lines underneath.
Pro tip: peel the tape only once the paint is dry to the touch. Lifting it while the surface is still tacky drags colour under the edge, and the ragged line that leaves cannot be tidied up afterwards.
This technique works beautifully for creating modern wall art that follows 2026 trends — think bold geometric shapes, Bauhaus-inspired blocks, and minimalist line art.
Estimated cost: $8-12 per canvas (canvas + paint + tape)
2. Fabric Wall Hangings
If you have a piece of fabric you love — a vintage scarf, a tablecloth with a beautiful pattern, or even a tea towel — you can turn it into wall art in under 10 minutes.
How to do it:
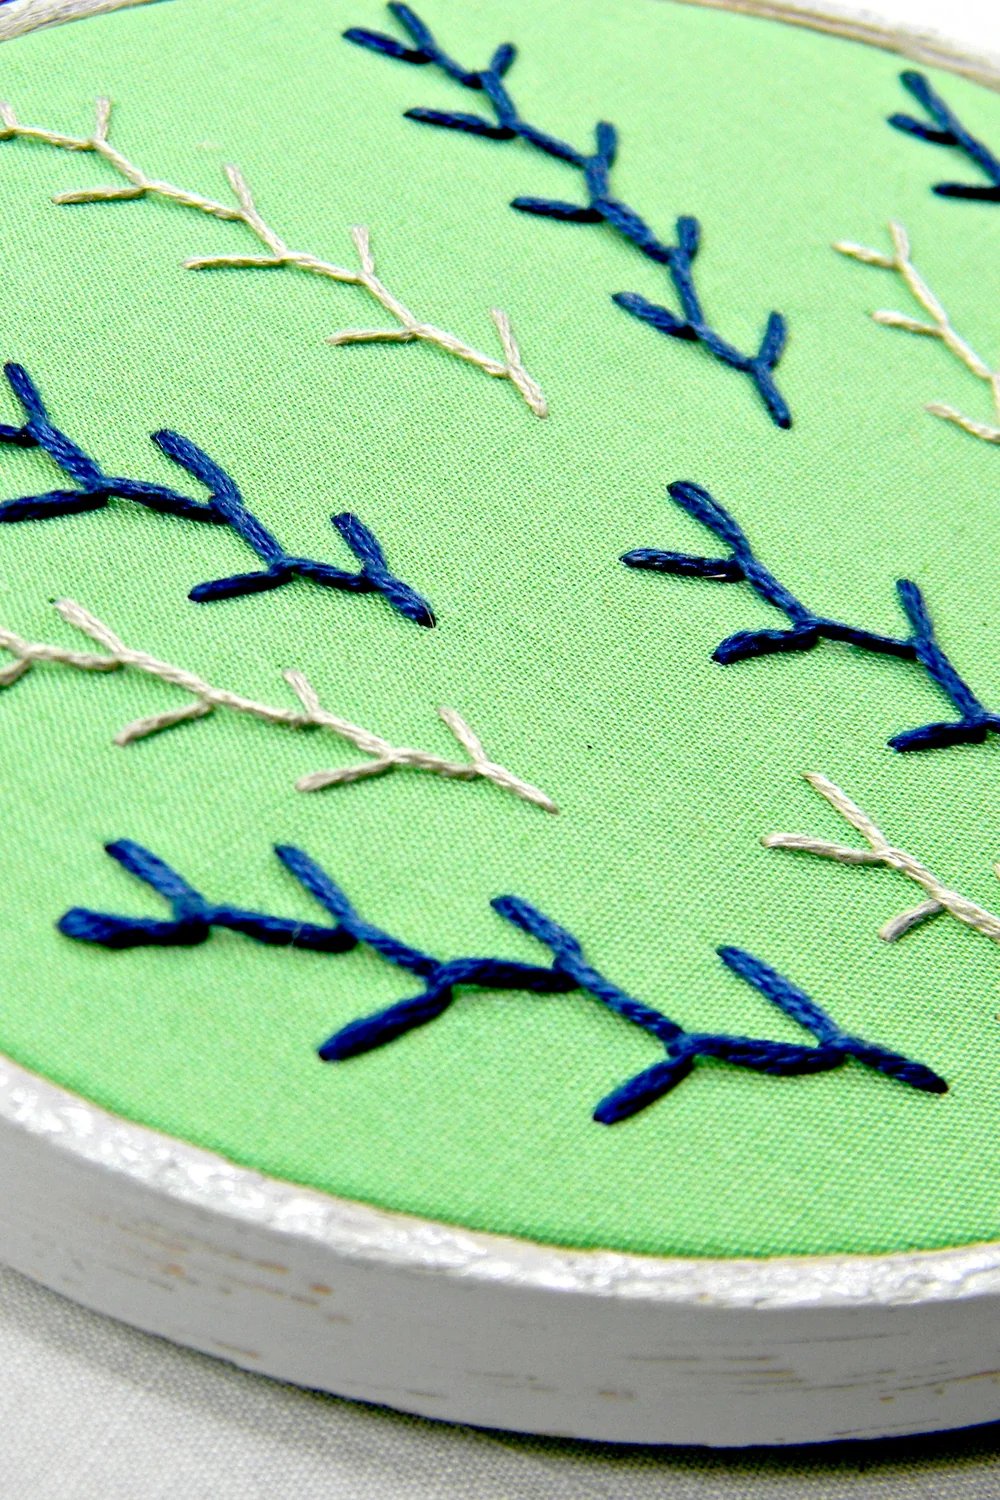
1. Stretch the fabric over a wooden embroidery hoop and pull it tight like a drum.
2. Trim the excess fabric from the back.
3. Hang it on the wall using a small nail or adhesive hook.
You can create a set of 3-5 hoops in different sizes with coordinating fabrics for a gallery-style display. This approach works especially well if you are exploring handmade accessories and decor — mixing fabric art with textile crafts creates a cohesive, handmade aesthetic.
Pro tip: Rotate your fabrics seasonally — light florals for spring, warm tones for fall, and rich jewel tones for winter. It is the cheapest way to refresh a room without buying anything new.
Estimated cost: $5-10 (hoops + fabric)
3. Framed Nature Pressings
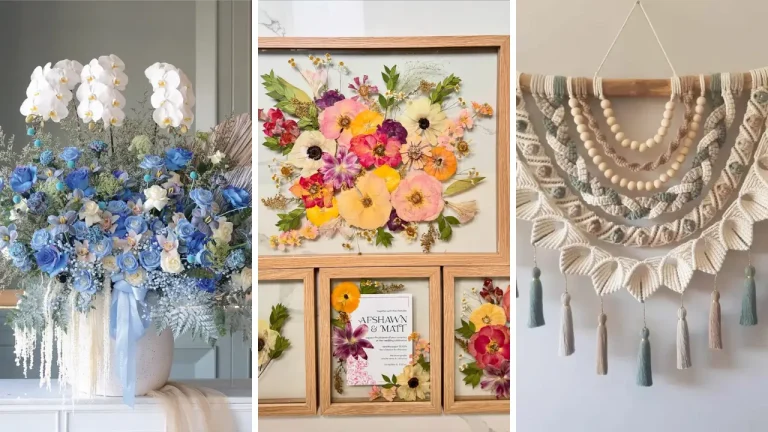
This project is practically free if you have access to a park, garden, or even a backyard. Pressed flowers and leaves create elegant, organic wall art that looks like it belongs in a boutique shop.
How to do it:
1. Collect leaves, ferns, wildflowers, or interesting plant specimens.
2. Place them between sheets of parchment paper inside a heavy book.
3. Stack more books on top and wait 1-2 weeks for them to dry completely.
4. Arrange the pressed specimens on white or cream cardstock.
5. Place them in simple frames — matching frames create a clean, modern look.
Cost: Essentially free if you thrift the frames. Dollar store frames work perfectly for this project.
This pairs beautifully with dried flower and botanical decor — you can create an entire botanical-themed wall using only natural elements.
4. String Art
String art adds wonderful texture and dimension to your walls. It looks complex, but the process is surprisingly straightforward.
How to do it:
1. Cut a piece of plywood to your desired size (or buy pre-cut wood boards).
2. Print out a template of your chosen shape — a heart, a state outline, a word, or a simple geometric design.
3. Hammer small nails along the outline, about half an inch apart.
4. Remove the template paper.
5. Weave colorful embroidery thread or yarn between the nails in a random pattern until the shape is filled in.
Pro tip: Start with simple shapes like a heart or an arrow. Once you get the hang of the weaving pattern, you can move on to letters or more complex silhouettes. A simple outline such as a state, a heart or a single letter reads clearly from across a room, which is what makes it work as a gift.
Estimated cost: $5-10 (wood board, nails, thread)
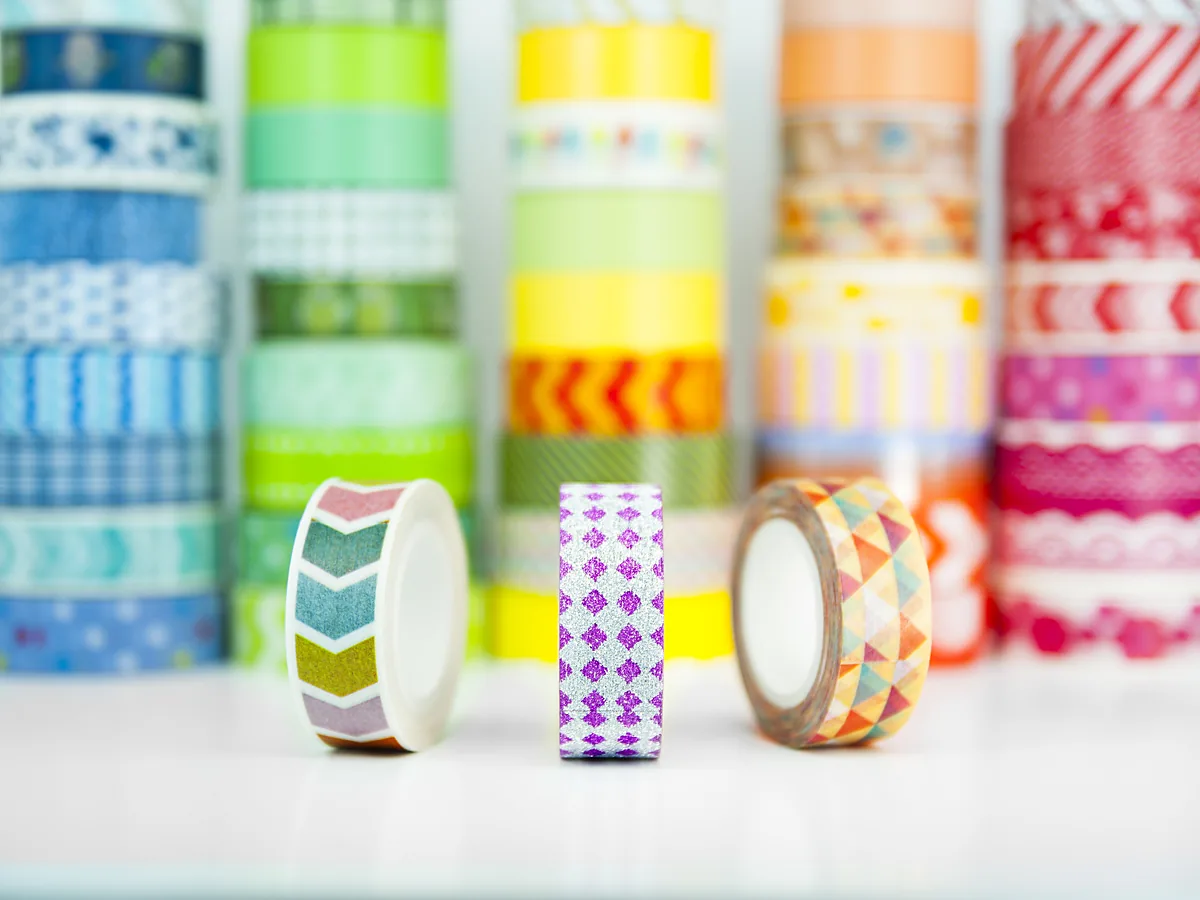
5. Washi Tape Murals
This is the perfect project for renters because washi tape is completely removable and will not damage your walls. You can create entire murals, geometric patterns, or accent walls with zero commitment.
How to do it:
1. Plan your design on paper first — even a rough sketch helps.
2. Use a level and pencil to mark light guidelines on the wall.
3. Apply the tape directly to the wall in your chosen pattern.
4. Step back frequently to check alignment and spacing.
Ideas to try:
- Geometric mountain landscape in earth tones
- Colorful abstract stripes in a hallway
- A simple city skyline silhouette behind your desk
- Honeycomb pattern in gold and white
Washi tape comes in hundreds of patterns, widths, and colors. You can find variety packs online for under $10.
Estimated cost: $8-15 for a variety pack
6. Gallery Wall With Thrifted Frames
A gallery wall is one of the most impactful ways to fill a large blank wall, and you do not need to spend a fortune on matching frames.
How to do it:
1. Visit thrift stores, garage sales, and flea markets to collect frames in various sizes and shapes.
2. Remove any existing art or glass (optional — you can keep the glass for a polished look).
3. Spray paint all the frames the same color for a cohesive look. Matte black, white, and gold are popular choices.
4. Fill the frames with a mix of: black-and-white photos, postcards, fabric swatches, pressed flowers, printable art, or your own photography.
5. Arrange them on the floor first, then transfer to the wall.
Arrangement tips:
- Keep 2-3 inches between frames for a clean look
- Start with the largest piece in the center and build outward
- Mix horizontal and vertical orientations for visual interest
- See the complete wall art size guide for choosing the right proportions
For more inspiration on what wall art styles are trending this year, see the guide to DIY wall art trends for 2026.
Estimated cost: $10-25 (thrifted frames + spray paint + prints)
7. Macrame Wall Hangings
Macrame wall hangings add beautiful texture and a bohemian feel to any room. The learning curve is gentler than most people expect — you only need to know 3-4 basic knots to create stunning pieces.
How to get started:
1. Get 3mm or 5mm cotton macrame cord — about 100 feet for a medium-sized wall hanging.
2. Learn the basic knots: the square knot, the spiral knot, and the half hitch. The basic macrame knots guide walks you through each one with step-by-step photos.
3. Cut your cords to the desired length (usually 3-4 times the finished length).
4. Attach the cords to a wooden dowel using a lark’s head knot.
5. Follow a pattern to create your design.
Pro tip: cheap cotton clothesline from a hardware store stands in for specialty macrame cord perfectly well, at roughly $4 for enough to make a 2-foot wall hanging. If you are not sure what cord to buy, the best macrame cord guide breaks down the differences.
A simple plant hanger is the better first project, because it practises the same knots at a smaller scale. The 30-minute macrame plant hanger tutorial is a great warm-up project before tackling a wall hanging.
Estimated cost: $8-15 (cord + dowel)
8. Painted Wood Slices
Wood slices have a natural, rustic charm that works especially well in farmhouse, cottage, and bohemian decor styles.
How to do it:
1. Buy pre-cut wood slices from a craft store, or cut your own from a fallen branch.
2. Sand the surface lightly for a smooth painting surface.
3. Paint simple designs: mandalas, mountain landscapes, simple florals, or meaningful words and quotes.
4. Seal with a clear coat of Mod Podge or polyurethane for durability.
5. Hang with small nails or lean them on a shelf.
Ideas for what to paint:
- A set of 3 with matching botanical designs
- Simple line art faces (very trendy right now)
- Seasonal designs you can rotate throughout the year
- A numbered set for a nursery or kids’ room
Estimated cost: $5-12 (wood slices + paint + sealant)
Tips For Arranging Wall Art Like A Designer
Creating the art is only half the battle — how you hang it matters just as much. Here are some professional tips:
1. Plan before you hammer. Lay all your pieces on the floor and experiment with arrangements. Take a photo of each option with your phone to compare.
2. Follow the two-thirds rule. Your wall art arrangement should be about two-thirds the width of the furniture below it. A gallery wall above a 6-foot sofa should span about 4 feet.
3. Keep consistent spacing. Use 2-3 inches between frames for a gallery wall. Consistent spacing makes even mismatched frames look intentional.
4. Mix sizes and shapes. Combine large statement pieces with smaller accent pieces. Mix square frames with round hoops and organic shapes.
5. Hang at eye level. The center of your arrangement should be at approximately 57-60 inches from the floor — the average eye level. This is the standard used by museums and galleries.
6. Use paper templates. Trace each frame on kraft paper, cut out the shapes, and tape them to the wall with painter’s tape. Step back and adjust before making any holes.
For more detailed guidance on sizing your art pieces correctly, see the wall art size guide for every room. And if you want to compare different art surfaces like canvas, wood, and paper, see the comparison of canvas vs wood vs paper wall art.
Common Mistakes To Avoid
Hanging art too high. This is the number one mistake people make. Art should be at eye level, not touching the ceiling.
Using tiny art on a big wall. A single 8×10 frame on a large wall looks lost. Either go big or create a gallery arrangement.
Matching everything perfectly. A little mismatch in frames, styles, and textures actually looks more interesting and personal than a perfectly coordinated set.
Forgetting about lighting. A picture light or even a strategically placed lamp can make your wall art look dramatically better. Consider how natural light hits your wall throughout the day.
Frequently Asked Questions
What is the cheapest way to make wall art?
Pressed flowers and leaves in thrifted frames cost virtually nothing. Washi tape murals and string art are also extremely budget-friendly, typically under $10 in materials.
How do I make wall art look expensive?
Use consistent framing (paint all thrifted frames the same color), choose a limited color palette, and keep your spacing even. Simple, minimalist designs often look more expensive than busy, colorful ones.
Can I make wall art without any artistic skill?
Absolutely. Tape resist painting, fabric hoop art, washi tape murals, and gallery walls with printable art all require zero drawing or painting ability. Paper crafting projects are another great option for non-artists.
What size should wall art be above a couch or bed?
The art should span about two-thirds to three-quarters of the width of the furniture below it. For a standard 6-foot couch, look for art (or an art arrangement) that is 4-5 feet wide.
How do I hang art in a rental without damaging walls?
Command strips and hooks are your best friends. Washi tape works for lightweight pieces. Lean framed art on shelves or mantels for a damage-free approach.
Conclusion
Making your own wall art is not just about saving money — it is about creating pieces that genuinely reflect your personality and style. Every project on this list can be customized to match your color scheme, your interests, and your skill level.
Start with the project that feels most approachable to you. Once you see how easy and satisfying it is to create your own art, you will never look at a blank wall the same way again.
The best part? When someone compliments your wall art and asks where you got it, you get to say: “I made it.”
Featured image: Hey Paul Studios / Wikimedia Commons, CC BY 2.0, title text added by OKI HERE.