How to Decorate a Christmas Tree Step by Step
Quick summary
- Order is everything here, and almost every disappointing tree is one that was filled in the wrong sequence.
- Most trees are under-lit by half, so buy two or three boxes where instinct says one will do.
- Depth beats quantity, so push some decorations deep against the trunk instead of crowding them all at the tips.
Quick answer: Work from the inside out and the bottom up: fluff the branches, add lights against the trunk first and then out along the limbs, drape garland next, hang the largest baubles deepest, fill the gaps with smaller ones, and leave the topper until the very end.
Have you ever stepped back from a finished tree and felt that something was wrong without being able to name it? The decorations are nice, the lights work, and yet it looks flat. You are not alone, and the cause is almost never the ornaments themselves.
Knowing how to decorate a Christmas tree is mostly a matter of sequence and depth. This guide walks through the order professionals use, how much of each material a tree actually needs, and the handful of mistakes that make an expensive tree look thin.
Start With the Tree Itself
Before a single light comes out of the box, the tree has to be ready, and this step is skipped more than any other.
Set it in its stand and check it from across the room, not from beside it. Turn the fullest side outward and the gappy side toward the wall, because every tree has one. If it leans, fix that now; a lean that looks minor on a bare tree looks drunk once it is loaded.
Then fluff the branches. On an artificial tree this means separating every tip and bending the branches into different planes rather than leaving them flattened from the box. It is tedious and it takes about twenty minutes, and it does more for the finished look than any decoration you will hang afterwards.
Lights Go On First, and Closer Than You Think
Lights are the only layer that is genuinely difficult to add later, so they go on before anything else.
Work in horizontal sections from the bottom. Run the string in toward the trunk, wrap it around the branch near the trunk, then follow the same branch back out to the tip and return. That in-and-out path is what creates depth, because lit branches behind the surface are what make a tree glow rather than sparkle.
Most people use too few. A reasonable figure is 100 bulbs per foot of tree height, so a seven-foot tree wants around 700. Boxed sets are usually sold in quantities that assume a far thinner result.
- Plug in and test the whole string before wrapping it. Finding a dead section afterwards means unwinding everything.
- Keep the plug end at the bottom, nearest the socket, and work upward from there.
- Pick one colour temperature. Warm white and cool white on the same tree read as a mistake rather than a mix.
Garland and Ribbon Come Second
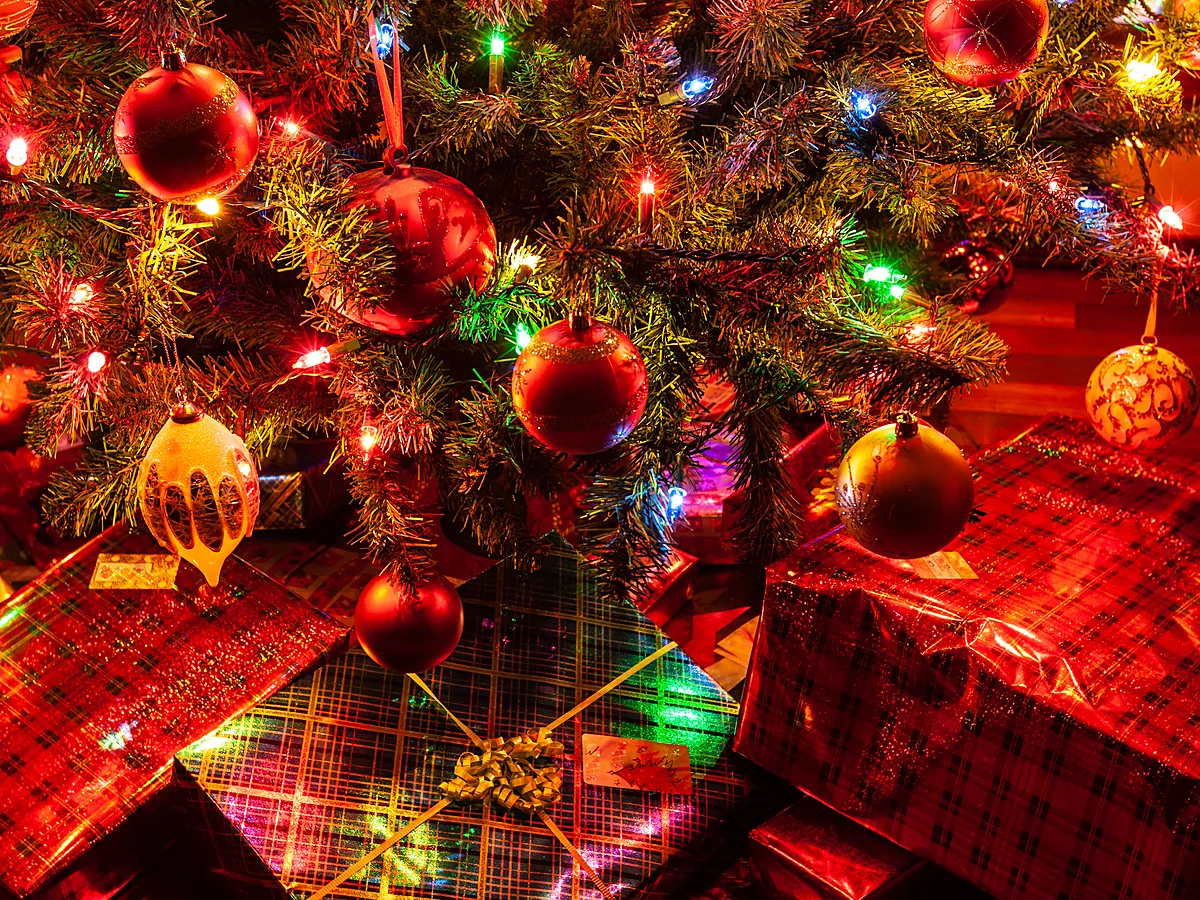
Garland goes on after the lights and before any ornament, because threading it past hanging baubles knocks half of them off.
Drape it in loose diagonal swags rather than tight horizontal rings. Rings make a tree look banded, like a barber pole; diagonals follow the shape and make it look taller. Let each swag dip slightly between branches instead of pulling it taut.
Wired ribbon is the easier option for anyone starting out, because it holds whatever shape it is bent into. Cut it into lengths of about a metre and tuck each one in separately rather than trying to wind one continuous piece around the whole tree. Separate pieces can be adjusted; a single wrapped length cannot.
Hang Ornaments in Three Passes
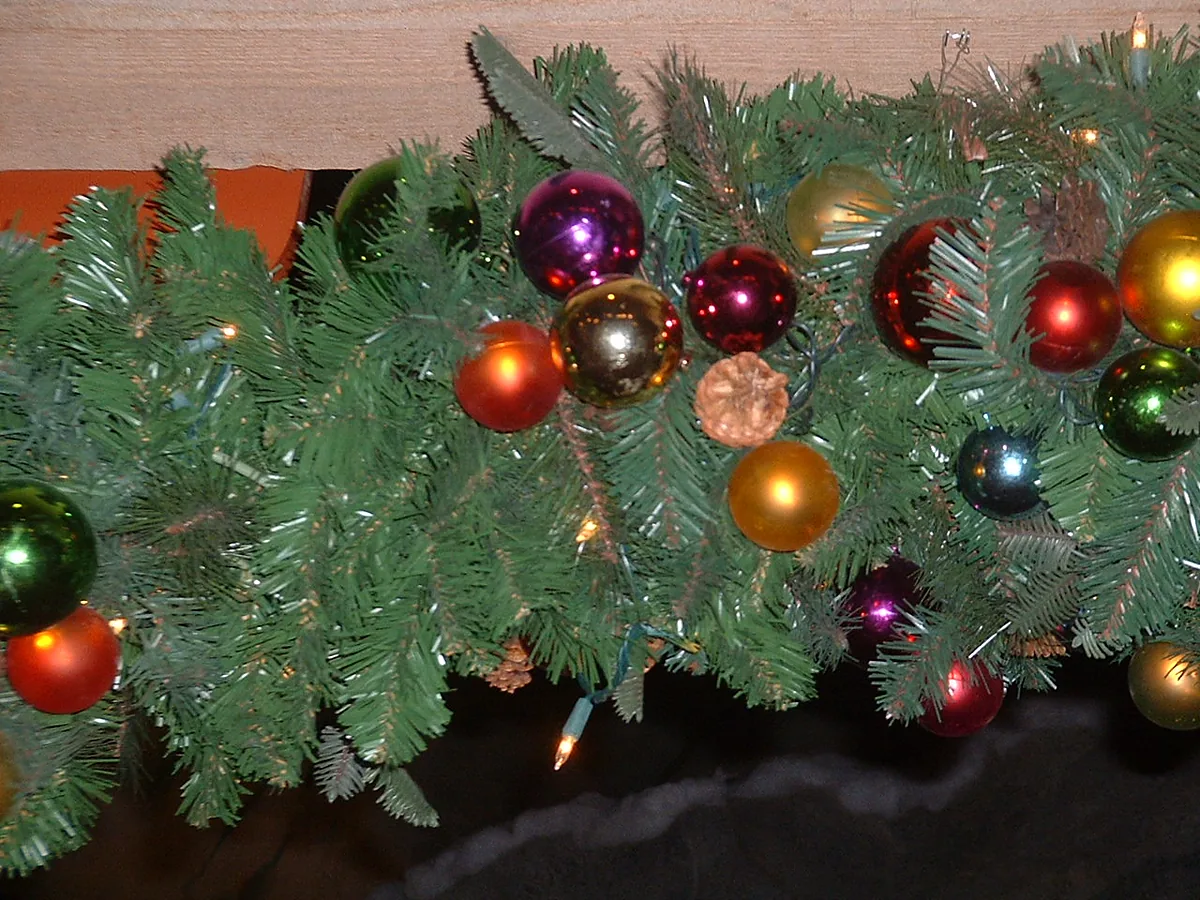
Hanging ornaments in one pass is what produces a tree with everything clustered at eye level and nothing anywhere else. Three passes fixes it.
Pass one: the largest pieces, pushed deep
Start with the biggest ornaments and place them close to the trunk, not at the branch tips. They fill the interior shadow, stop the tree reading as hollow, and are heavy enough that only a thick inner branch will hold them properly. Distribute them unevenly and across all heights.
Pass two: medium ornaments at mid-branch
These sit between the trunk and the tips and form the visible body of the scheme. Work around the tree rather than down one side, and keep stepping back. Anything that matches should never be hung at the same height on the same side.
Pass three: small ornaments and fillers at the tips
Small pieces go last, on the outer tips where they catch light and move. This is also the pass for anything delicate or handmade, because the tips are where they are seen. A set of DIY Christmas ornaments made at home earns its place in this layer rather than being buried.
Hang each one with the hook turned behind the branch so the wire is hidden, and rotate ornaments so their best side faces out. Both details take seconds and neither is visible until skipped.
How Much of Everything a Tree Needs
Running short halfway through is what causes the top-heavy, bottom-bare result. Rough quantities by tree height:
- Lights: about 100 bulbs per foot. A 6ft tree takes 600, a 7ft takes 700.
- Ornaments: roughly 20 per foot for a full look, so 120 to 140 on a 6ft tree. Half that gives a sparse, modern result if that is the intention.
- Garland or ribbon: around 9ft of length per foot of tree height for diagonal swags.
- Filler picks or sprays: 12 to 20 on an average tree, used only to plug visible holes.
These are starting points rather than rules. A narrow tree needs less of everything, and a tree in a corner needs nothing at all on the back.
Choosing a Scheme That Holds Together
A tree looks considered when the palette is limited and chaotic when it is not. Three colours is the usual advice and it works: one dominant, one secondary, one metallic.
The complication is that most people own a tree worth of accumulated ornaments that match nothing. The fix is not to discard them. Hang the sentimental pieces first and most visibly, then build the colour scheme around them with plain filler baubles in two colours, which is exactly the job that affordable dollar store holiday decor does well. A tree full of meaningful objects unified by a few plain ones always reads better than a perfectly coordinated one with no history in it.
If the room beyond the tree needs pulling together as well, DIY Christmas home decor ideas and handmade Christmas decor cover the surfaces around it, and DIY Christmas wreaths handle the door.
The Topper, the Skirt and the Base
The topper goes on last, and it should be proportionate: roughly the top fifth of the tree, no more. An oversized star on a modest tree is the single most common proportion error in a decorated room.
At the bottom, something has to hide the stand. A skirt, a collar, a basket, or a length of folded fabric all work, and a plain one is better than a busy one because the tree above it is already busy. Presents eventually do most of this job anyway, and DIY Christmas stocking ideas cover the same corner of the room in fabric.
Check the base from a seated position too, since that is where people actually look at it from. Stands are far more visible from a sofa than from standing height.
Mistakes That Make a Tree Look Thin
- Decorating only the tips. The interior stays dark and the tree looks like a shell. Push a third of everything deep.
- Too few lights. The most common single fault, and the hardest to fix afterwards.
- Horizontal garland rings. They band the tree and shorten it.
- Even spacing. Perfectly spaced ornaments look mechanical. Cluster some, leave gaps elsewhere.
- Matching pieces at the same height. Spread identical ornaments across different levels and sides.
- Skipping the fluffing. No amount of decoration rescues branches still flat from storage.
- An oversized topper. It shrinks everything underneath it.
Conclusion
If only one thing changes this year, make it the lights: double the quantity and wrap them in toward the trunk rather than around the outside. That single change does more than any new set of ornaments.
After that, trust the sequence. Fluff, light, garland, large ornaments deep, medium, small, topper last. It takes longer than decorating in one pass, and it is the entire difference between a tree that looks full and one that looks finished. For the weeks after, how to store holiday decor covers packing it all away without breakages.
Frequently Asked Questions
What order should you decorate a Christmas tree in?
Fluff the branches, then add lights, then garland or ribbon, then ornaments from largest to smallest, and finally the topper. Lights and garland are both very difficult to add once ornaments are hanging, which is the whole reason the order matters.
How many lights does a Christmas tree need?
Around 100 bulbs for every foot of height, so 600 on a six-foot tree and 700 on a seven-foot one. Most boxed sets contain far fewer than that, so two or three sets per tree is normal rather than excessive.
Should lights go on before or after garland?
Before. Lights need to be wrapped in toward the trunk and back out again, and garland sitting on the branches gets in the way of that path. Garland then drapes over the lit branches, which also helps hide the cable.
How many ornaments does a Christmas tree need?
About 20 per foot of height for a full traditional look, so roughly 120 on a six-foot tree. A deliberately minimal tree can use half that, but anything below about 10 per foot starts to look unfinished rather than restrained.
Why does a decorated tree still look empty?
Almost always because everything was hung on the outer tips, leaving the interior dark and hollow. Moving a third of the lights and the largest ornaments in close to the trunk fills that shadow and makes the same tree look considerably fuller.
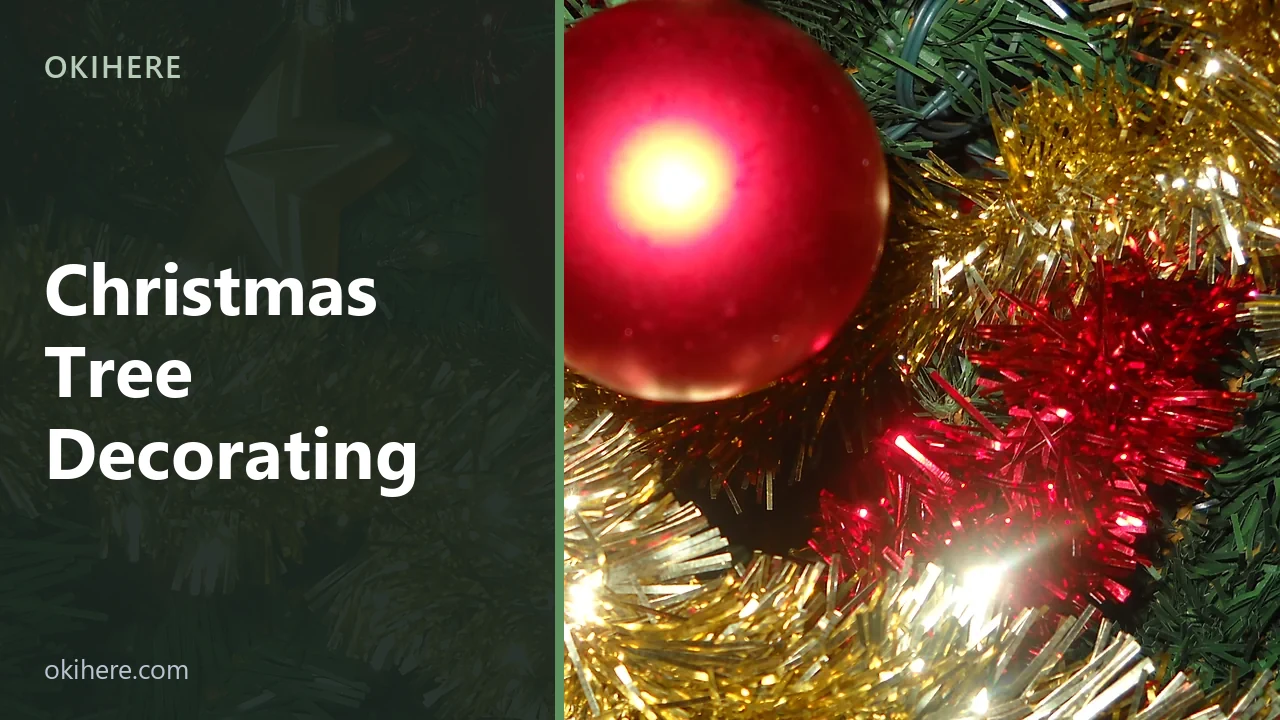
Featured image: Jennifer C. / Wikimedia Commons, CC BY 2.0, title text added by OKI HERE.