12 DIY Lace and Doily Home Decor Ideas
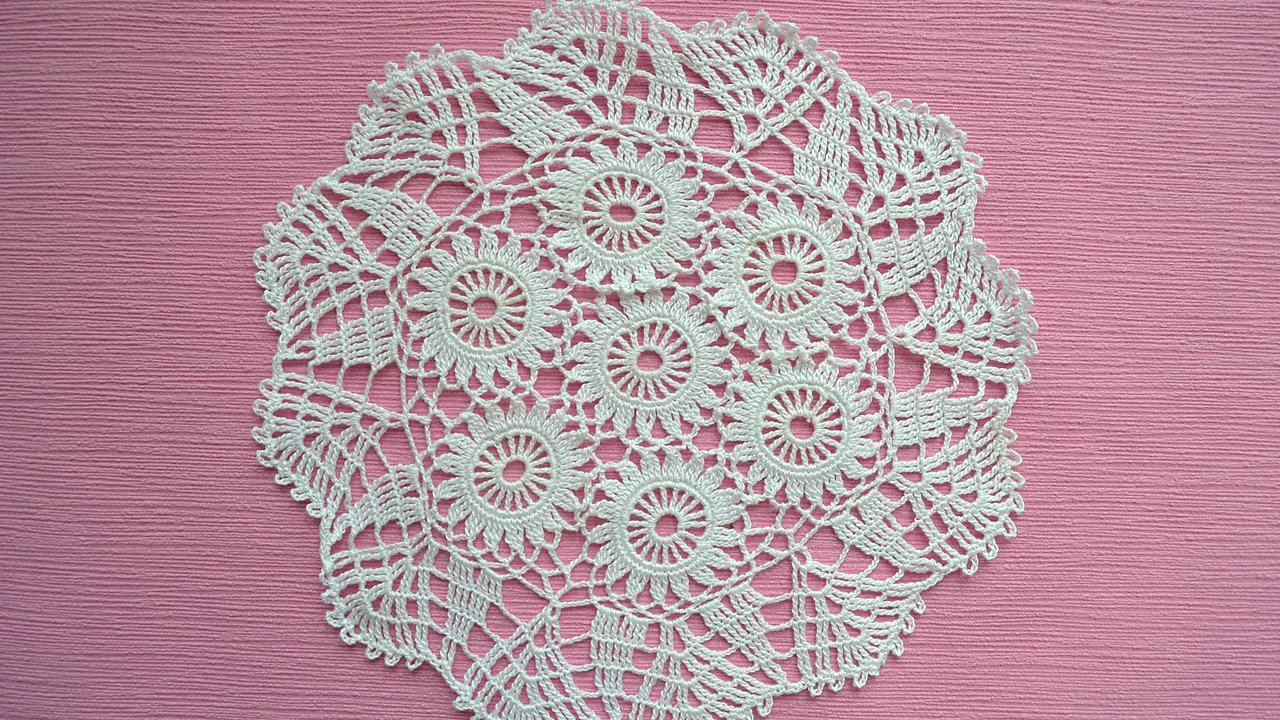
Have you ever inherited a box of crocheted doilies and had no idea what to do with them, beyond feeling slightly guilty about throwing them out? Lace and doilies have come back hard, and not in the fussy way they were used thirty years ago. Used flat, framed, stiffened, or cut into, they read as texture rather than nostalgia. These twelve DIY lace and doily decor projects each list the materials, how long they take, and the step that decides whether the result looks deliberate or dated.
Where to Find Lace and Doilies Worth Using
The material is the whole project here, so it is worth sourcing properly.
- Charity shops and car boot sales. Hand crocheted cotton doilies turn up in boxes for very little, and hand worked ones have far more presence than machine made lace.
- Old household linen. Pillowcase edgings, tablecloth borders, and tray cloths often carry the best lace on an otherwise unusable piece. Cut the edging off and keep it.
- Haberdashery by the metre. Cotton eyelet and broderie anglaise are cheap by the metre and give a consistent look when you need several matching pieces.
Wash everything before using it. Old cotton often carries a yellow cast that disappears with a soak in oxygen bleach, and the difference between cream lace and dingy lace is almost entirely down to that one step. Dry it flat, not pegged, or the edges stretch into waves.
1. Framed Doily Wall Art
Materials: doily, deep frame, linen or card backing, fabric glue.
Time: 20 minutes.
Mount a single doily on a plain linen backing in a simple frame. One doily framed alone reads as a deliberate graphic shape. Three or four in a row reads even better.
Quick tip: choose a backing that contrasts in tone but not in colour, for example cream lace on oatmeal linen. High contrast turns it into a novelty piece. More framing approaches sit in DIY textile wall art ideas.
2. Lace Trimmed Pillow Covers
Materials: plain cushion covers, lace trim by the metre, thread.
Time: 45 minutes each.
Stitch a band of lace across the lower third of a plain cover rather than around the edge. Off centre placement looks current; a border all the way round looks like a doily on a chair arm.
Quick tip: pin the trim with the cover stuffed, not flat. Lace sewn on a flat cover goes slack once the pad is in. The base covers are covered in handmade pillow cover ideas.
3. Stiffened Doily Bowls
Materials: cotton doilies, fabric stiffener or watered PVA, a bowl, cling film.
Time: 20 minutes plus overnight drying.
Cover a bowl with cling film, soak the doily in stiffener, drape it over the upturned bowl, and leave it to dry hard. Lift it off and it holds the shape.
Quick tip: squeeze out the excess stiffener before draping. A dripping doily pools at the rim and dries into a thick ridge that will not sit flat.
4. Lace Candle Jar Sleeves
Materials: glass jars, lace strips, fabric glue, tea lights.
Time: 10 minutes each.
Glue a band of lace around a jar and drop a tea light inside. The pattern throws a shadow onto the surrounding surface once lit, which is the whole point.
Quick tip: use battery tea lights if the lace sits anywhere near the rim. Open flame and dry cotton at the same height is not worth the risk. Container options sit in creative candle container ideas.
5. Doily Dreamcatcher Hoops
Materials: embroidery hoops, round doilies, ribbon, beads.
Time: 30 minutes.
Clamp a round doily inside an embroidery hoop so it sits taut, then hang the hoop. Add trailing ribbon from the bottom if you want movement.
Quick tip: match the doily diameter to the hoop closely. A small doily floating inside a large hoop looks unfinished however carefully it is centred.
6. Lace Edged Linen Napkins
Materials: plain linen napkins, narrow lace trim, needle.
Time: 25 minutes each.
Hand stitch narrow lace along two adjacent edges rather than all four. It uses half the trim and looks less like a doily with corners.
Quick tip: mitre the corner where the two edges meet by folding the trim at 45 degrees. A trim that simply turns the corner bunches and never lies flat.
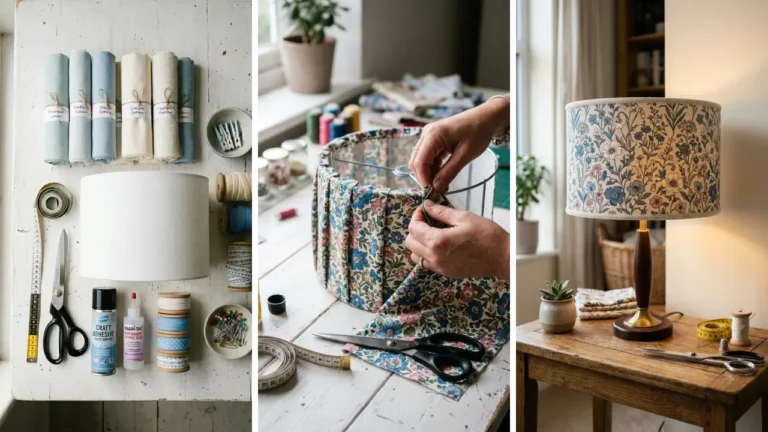
7. Doily Lampshade Overlay
Materials: plain drum shade, flat doilies, fabric glue.
Time: an hour.
Glue flat doilies around the outside of a plain shade, overlapping the edges slightly. Lit from inside, the pattern shows through as shadow.
Quick tip: use cotton doilies and an LED bulb only. Cotton against a hot incandescent bulb is a genuine fire risk, and LED shades stay cool enough to be safe.
8. Lace Pattern Painted Wall
Materials: lace length, spray or roller paint, masking tape.
Time: 2 hours.
Tape a length of lace flat against the wall and paint over it, then peel it away to leave the pattern behind. It works as a border or a single panel behind a bed.
Quick tip: use the lightest possible coat. Heavy paint seeps under the threads and the pattern comes out as a blur rather than a stencil.
9. Doily Table Runner
Materials: several doilies of similar size, needle and thread.
Time: 90 minutes.
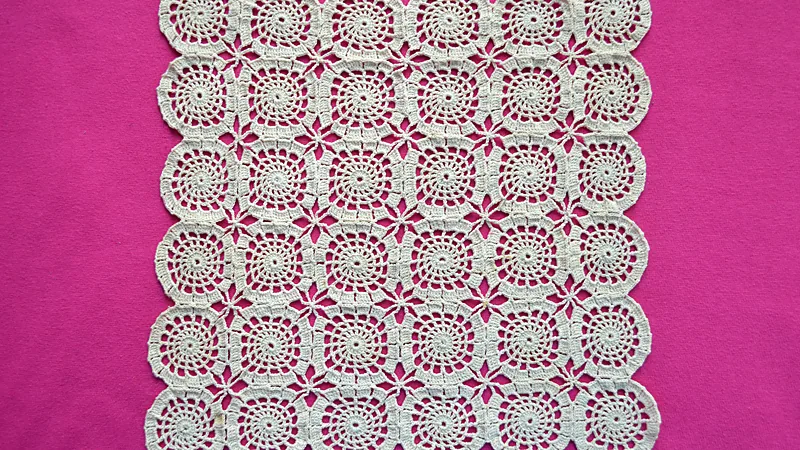
Overlap doilies by about two centimetres in a line and stitch them to each other where they touch. No backing is needed, and the irregular outline is what makes it look collected rather than bought.
Quick tip: lay the whole run out on the table before stitching a single join, and move pieces around until the sizes alternate. Working join by join always ends with the three largest at one end.
10. Lace Covered Storage Boxes
Materials: plain boxes, lace or eyelet trim, glue.
Time: 20 minutes each.
Run a band of lace around the lid edge of a plain fabric or card box. It turns inexpensive storage into something that can sit on an open shelf.
Quick tip: buy the trim by the metre for this rather than using vintage doilies. Boxes get handled, and handmade lace is wasted somewhere it will wear.
11. Doily Pendant Light Shade
Materials: large round doily, balloon, fabric stiffener, pendant kit.
Time: 30 minutes plus 24 hours drying.
Soak a large doily in stiffener, drape it over an inflated balloon, and let it dry completely before popping the balloon. The result is a rigid dome.
Quick tip: allow a full day of drying, and longer in a humid room. Popping the balloon early collapses the whole thing and it cannot be reshaped.
12. Lace Trimmed Curtain Panels
Materials: plain cotton or linen curtains, wide lace trim, machine.
Time: 2 hours a pair.
Add a deep band of lace along the bottom hem of plain curtains. In a window that gets morning light the pattern casts onto the floor, which is the best argument for this one.
Quick tip: add the band to the bottom, never the leading edge. Lace on the edge that gets pulled every day frays within a season.
How to Use Lace Without the Room Looking Dated
The difference between current and dated is mostly restraint and placement.
- One material, one room. Lace at the window, on the cushions, on the table, and on the lampshade at once is what makes it read as a theme rather than a texture.
- Keep the palette flat. Cream, oatmeal, and white together. Coloured lace against coloured fabric is where it goes wrong.
- Use it off centre. A band across the lower third of a cushion or the bottom of a curtain reads as modern. A border running all the way round does not.
- Let it carry shadow. Lace is at its best with light behind it, so lampshades, jars, and windows do more than flat surfaces.
- Pair it with plain, heavy texture. Linen, raw wood, and unglazed ceramic stop it feeling delicate. Pairing lace with more pattern never works.
Mistakes to Avoid
- Skipping the wash. Yellowed vintage cotton looks tired next to anything clean. Soak it first.
- Pegging lace to dry. It stretches at the pegs and never recovers. Dry flat.
- Hot bulbs behind cotton. Use LED only in any shade project.
- Too much stiffener. It dries shiny and plasticky. Squeeze out well, and dilute PVA about one part to one part water.
- Cutting into handmade pieces. Use bought trim for anything that needs cutting, and keep hand crocheted doilies whole.
- Gluing where stitching would hold better. Fabric glue is fine on jars, boxes, and lampshades, which never flex. Anything washed or sat on needs thread, because glue goes brittle and cracks along the line within a few washes.
- Mixing cotton and synthetic lace in one piece. They take dye and light differently, so a run of doilies that looked matched in the shop can read as two separate tones once daylight hits it.
Conclusion
Start with the framed doily or the lace jar sleeves, because both take under half an hour and show immediately whether this material suits your room. The stiffened bowls and the pendant shade are the ones worth a weekend, since neither can be bought easily and both look like something rather than a craft project.
Keep the palette to cream and oatmeal, use lace where light passes through it, and stop at two pieces per room. Related texture work sits in crochet home decor ideas and no sew fabric crafts, and if you are buying trim by the metre, where to buy cheap craft supplies online covers the sources worth using.
Frequently Asked Questions
Q: How do you whiten yellowed vintage doilies?
A: Soak them in oxygen bleach dissolved in warm water for several hours, then rinse thoroughly and dry flat. Avoid chlorine bleach on old cotton, because it weakens the fibres and the damage shows up as holes a few washes later.
Q: What can you make with doilies that is not old fashioned?
A: Framed as flat graphic shapes, stiffened into bowls, or clamped in embroidery hoops. The dated look comes from laying doilies on furniture surfaces, not from the material itself.
Q: What is the best stiffener for doily bowls?
A: Commercial fabric stiffener gives the most reliable result, but PVA diluted roughly one to one with water works well and costs far less. Squeeze out the excess before shaping, since too much dries shiny.
Q: Is it safe to put lace on a lampshade?
A: Only with an LED bulb. LEDs run cool enough that cotton lace sits safely against a shade, while incandescent and halogen bulbs get hot enough to scorch fabric and are a real fire risk.